1 Comment
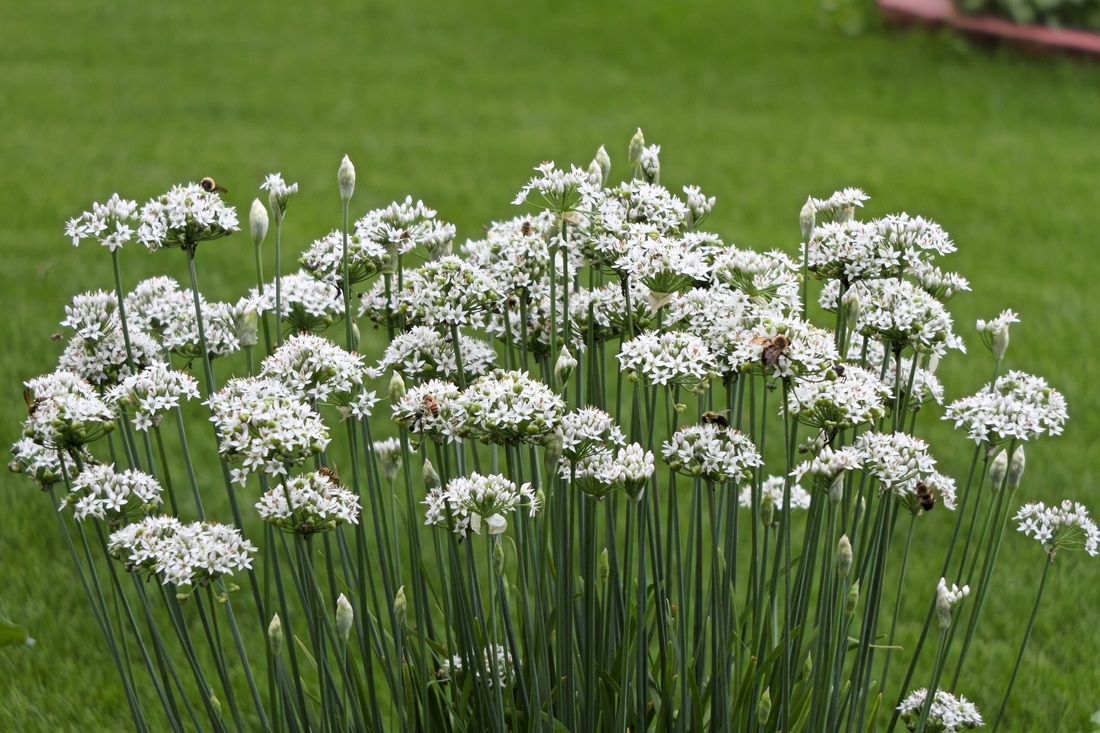
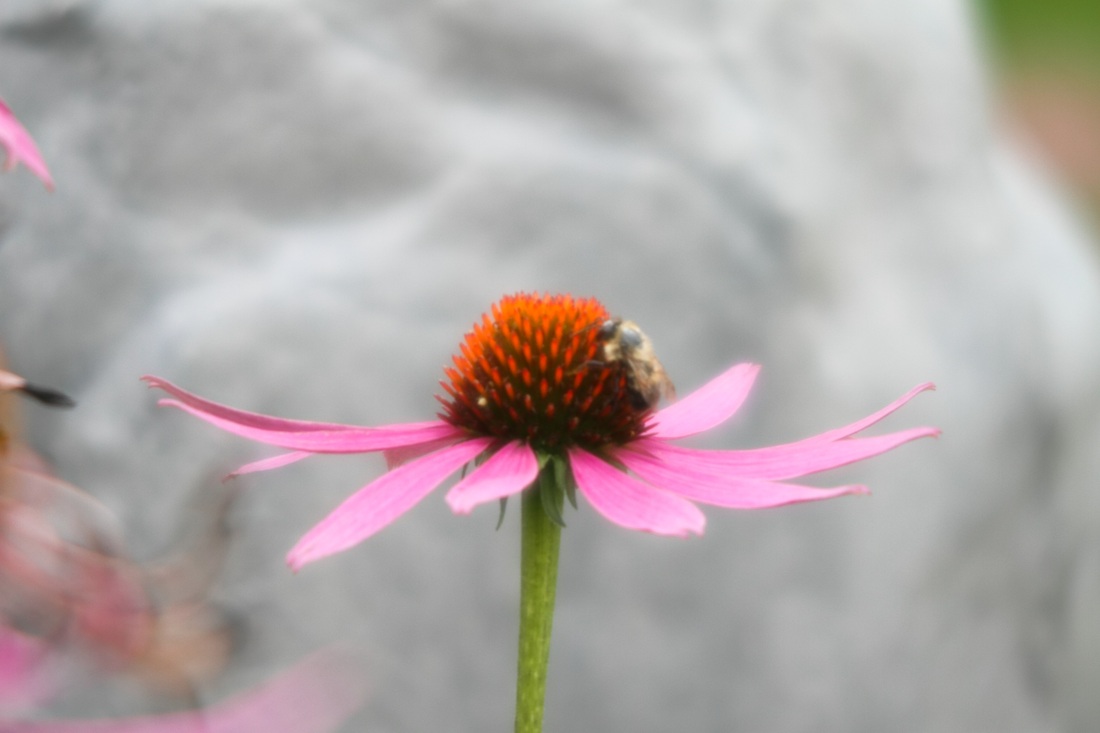
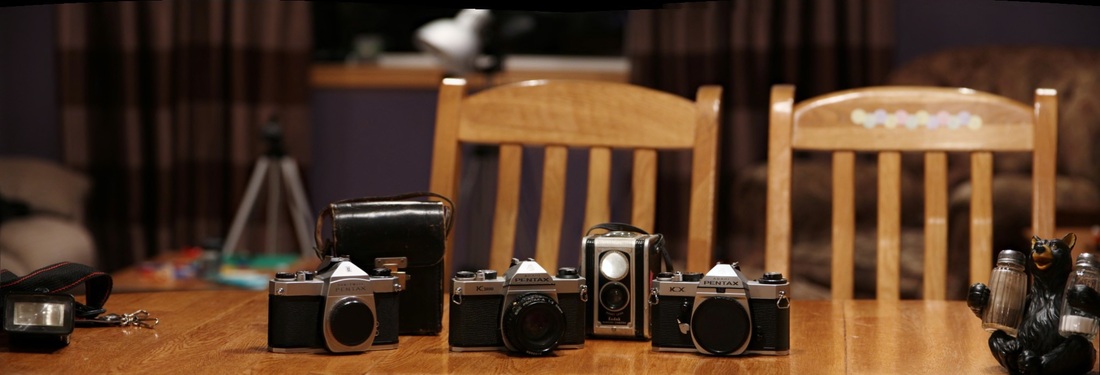
 Well, film was just supposed to be a little diversion, but lately I've been getting more and more fascinated by it. I just developed another roll of Fuji 400 shot with the Canon AE-1 Program. In general I think the pictures are underexposed, but some of them turned out pretty good. Next time I might try lying to the camera and setting it for slightly slower than ASA 400 so it will cook the pictures a little longer... I got a chance to use the Canon AE-1 Program that had some Kodak T400 black and white film in it. Here's the pictures I managed to get with it and the 70-200mm zoom lens. I like the results with B&W but the processing is about 2x the money so I don't foresee doing much more of this kind of shooting!  So the other day I picked up a Minolta X370 35mm film camera at the Goodwill store, and it had a roll of film in it! I thought it would be a fun challenge to see if I could get any decent pictures with it. At first I just matched the settings I would have used with the DSLR but that didn't seem very sporting so I went for the Av mode the camera offers. Below are my results. Obviously not as stunning as I would have liked, but they're a step up from the colored blobs I've been known to get from time to time... So, as I've been learning photography the past 6 months or so, I came across a technique people are calling the "Brenizer Method". Credit is given to a NYC photographer named Ryan Brenizer for coming up with the technique, although it relies on the PhotoMerge or Photo Stitching functions in Photoshop or Microsoft Image Composite Editor (ICE) to make it work, so obviously somebody at Adobe or Microsoft envisioned this prior to Ryan. Anyhow, I digress. The neat thing about it is that you get a wide angle of view with a shallow depth of field. Which, doesn't mean much to non-photographers, but I'll give you an example that should clear things up. Depth of field (DOF) is the ability to control how much of the background is blurry compared to the point of focus in your picture. Due to the nature of light and lenses, in order to get a nice smooth, blurry background you have to position your camera close to the subject if you have a standard or wide angle lens, or if you have a telephoto lens you can stand further back and zoom in on your subject. So here's the problem, what if you want to capture a relatively wide angle of view, but you still want a nice blurry background? In olden days the only way to pull this off was with a larger format film or digital sensor that allowed a wider angle of view. By the way, these "medium" and "large" format cameras are very expensive. On to the examples. Here is a picture of our dining room, taken while I sat in our living room. I had to set my zoom lens to 40mm to get the entire table in the frame. 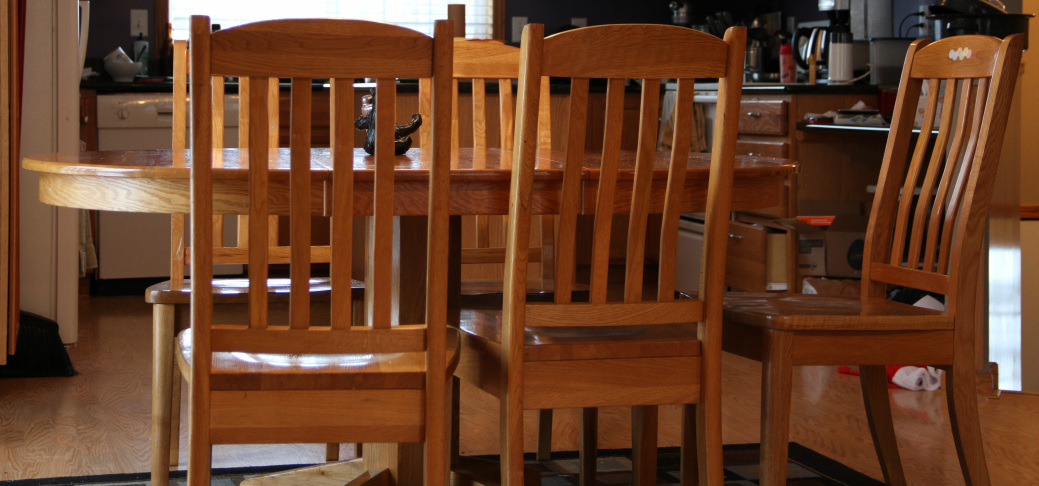
Notice how the entire kitchen is fairly in-focus yet, and the picture overall lacks any sort of "pop" or "depth". (The lowest f-stop my lens would allow at this range was f/5.0 for the photogs out there) Ok, so now here's the Brenizer Method photo, stitched together from 160 pictures with a 235mm lens at f/5.6, while sitting in the same chair as before: 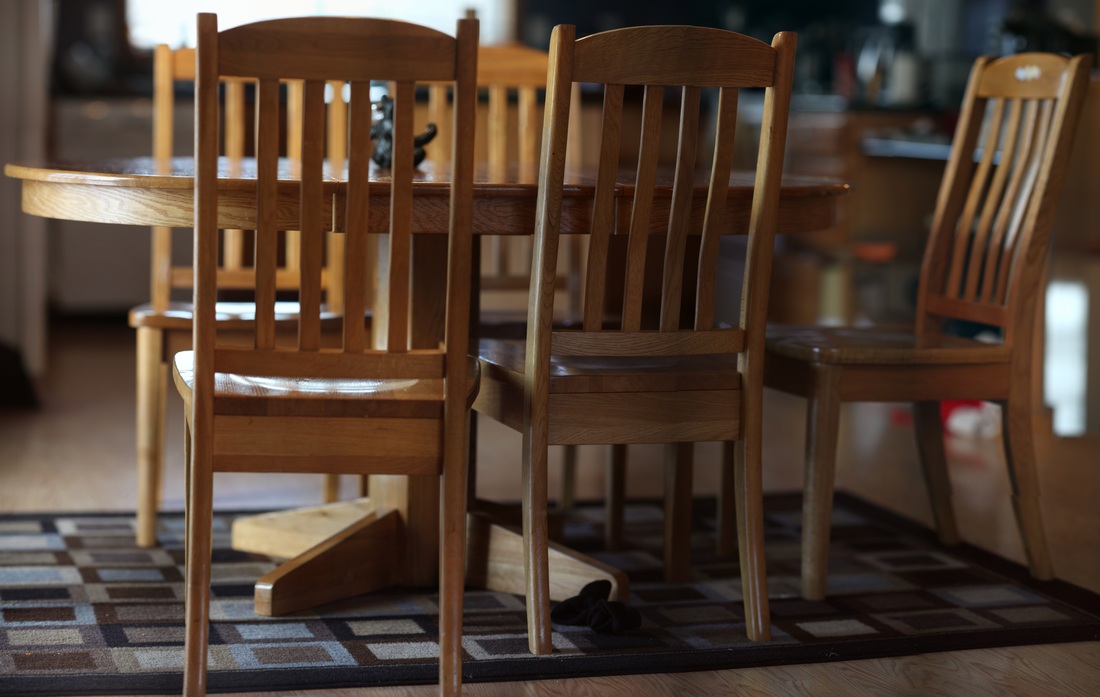
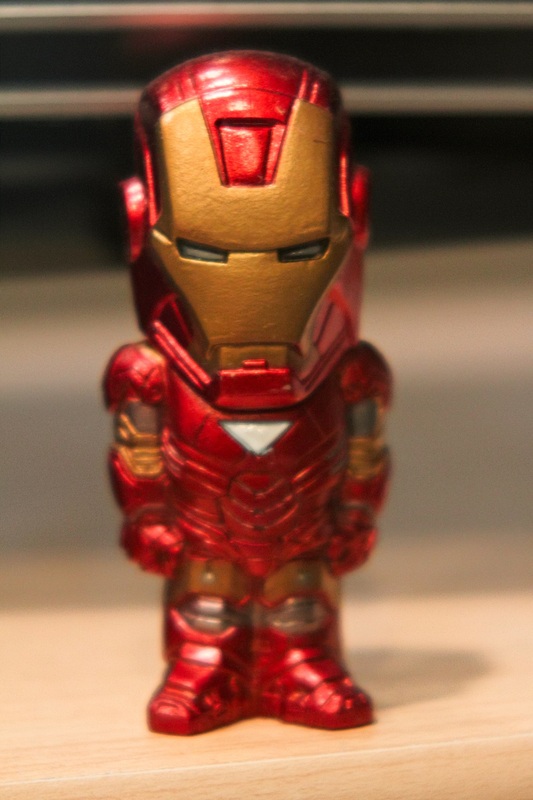
Now, my 70-235mm lens is a 40 year old Soligor M42 manual focus lens, so the coloring is a little different, but as you can see, the background is way blurrier than in the first picture, and the part that is in focus seems to jump out at you. I did zero post processing on either picture so the exposure and coloring could be adjusted to make them even better but for this example I wanted to show how the pictures compare coming straight out of the camera. More or less... after I used ICE to stitch those 160 pictures together. If you want to know how to do the Method, just search for Brenizer Method on Youtube and you'll find tons of examples of how to do it. It's actually far easier than you might think, and for most pictures you can get away with only shooting 20-30 pictures. I wanted an extreme example so I used my 235mm lens which forced me to take way more pictures, but I've gotten reasonably good pictures at 135mm and far fewer clicks. The images below were all made with my Canon EF-S 18-135mm f/3.5-5.6 lens.  It's Christmas Day so what better time to experiment with photography. I wanted to try a "Product Photo" of my Christmas Gift from the kids. This was my favorite shot using the Canon 85mm f/1.8 USM on the Canon 7D with the ambient light in our bathroom. It came out alright but probably wouldn't cut it for a magazine ad...
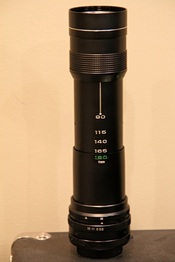
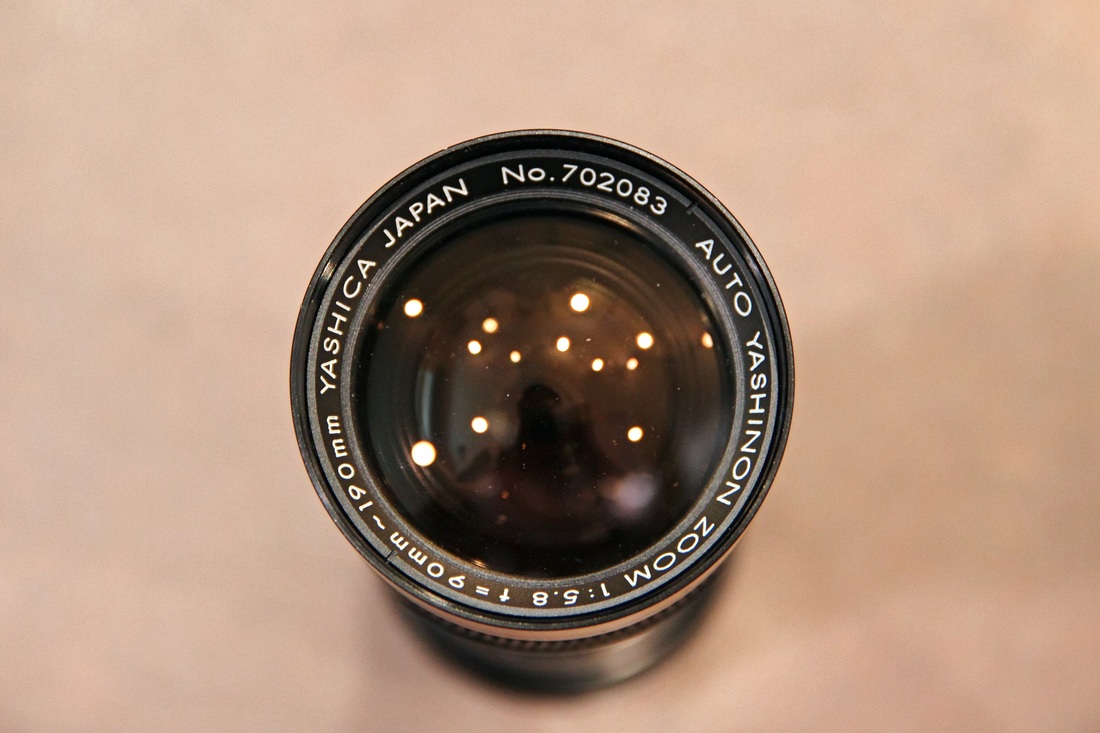
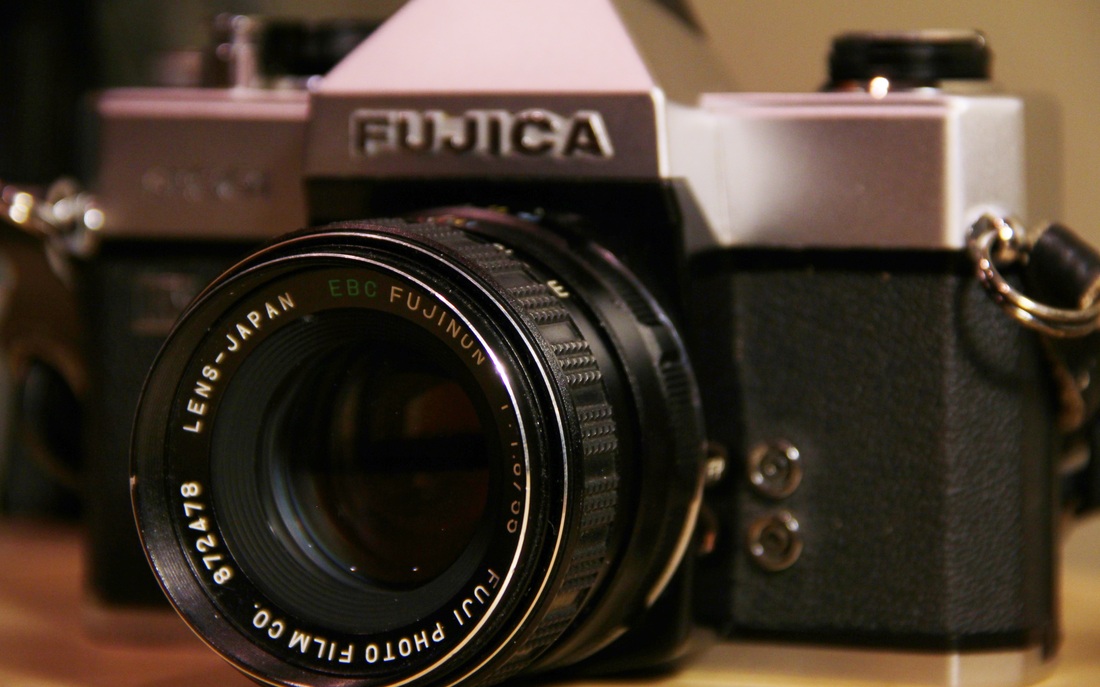
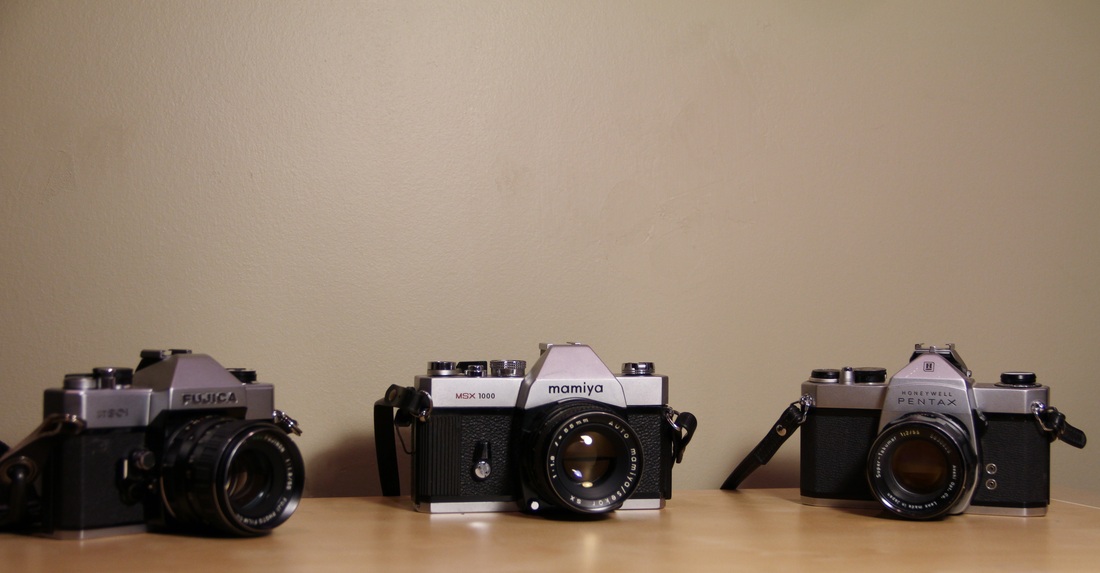
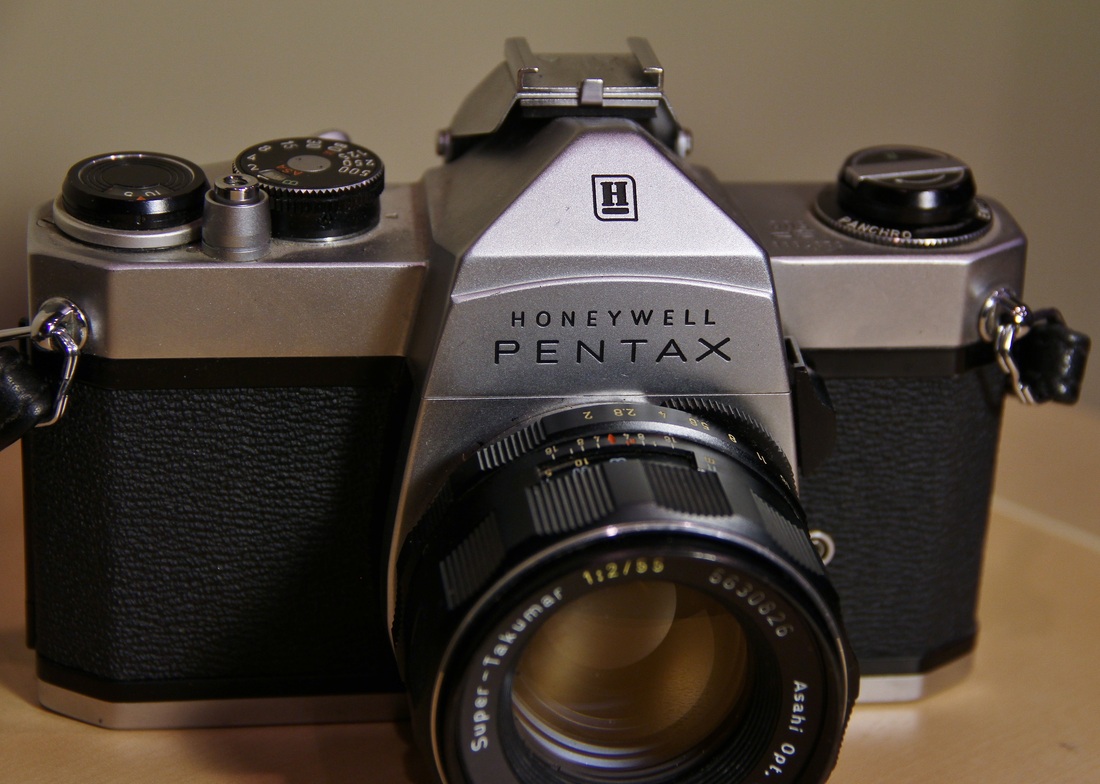
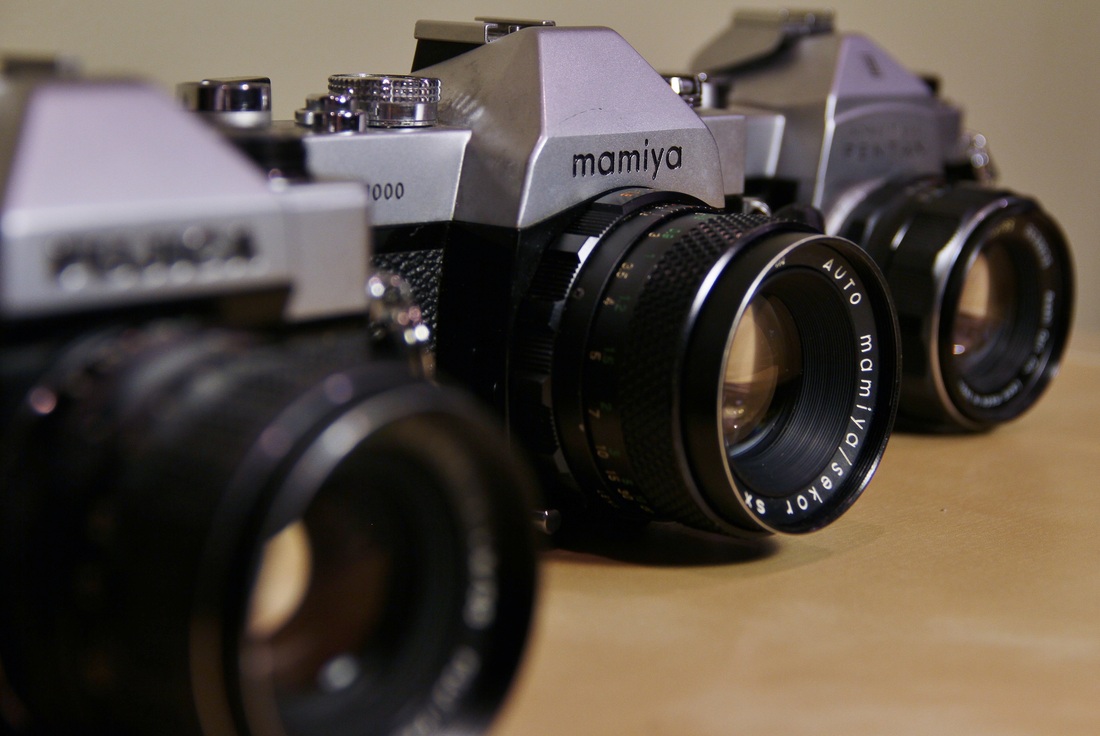
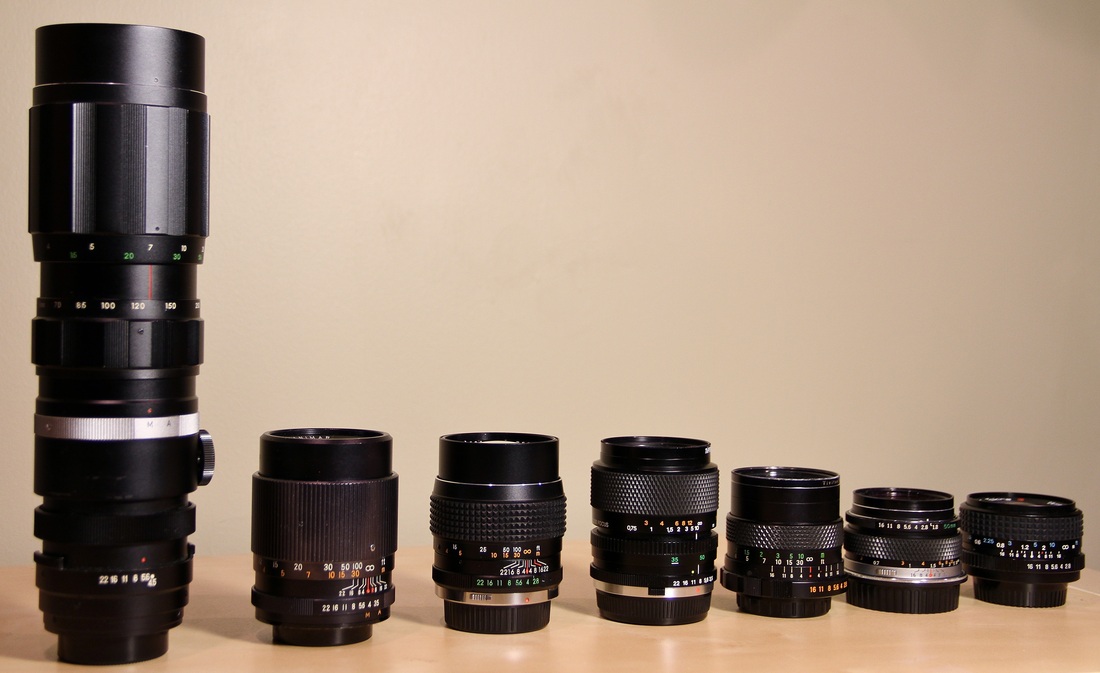
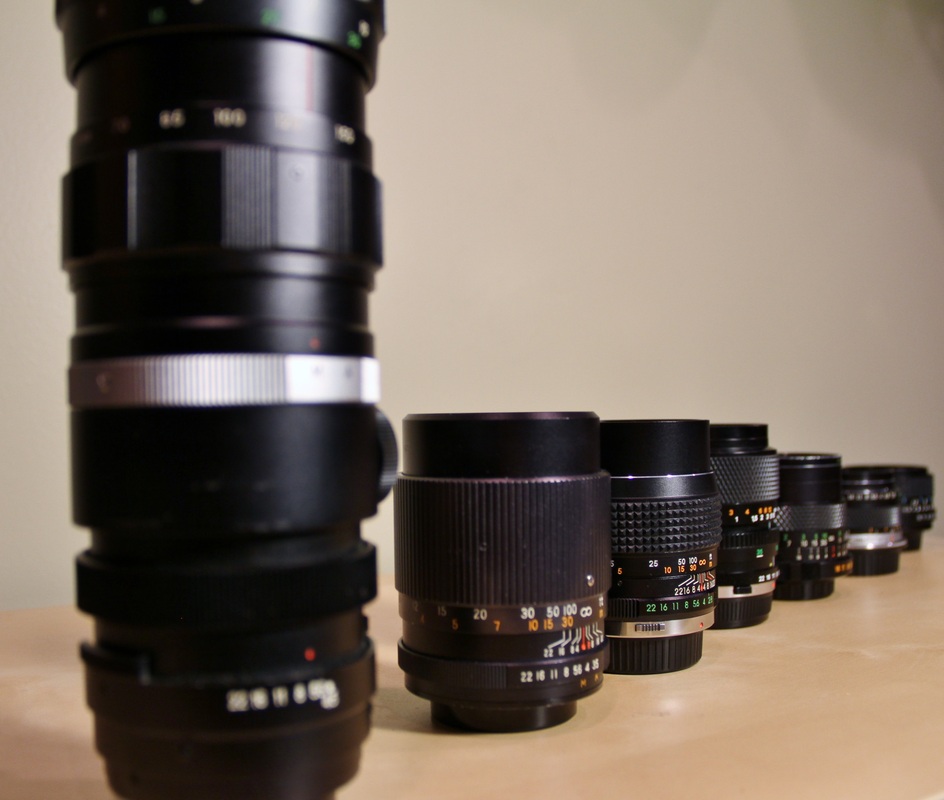
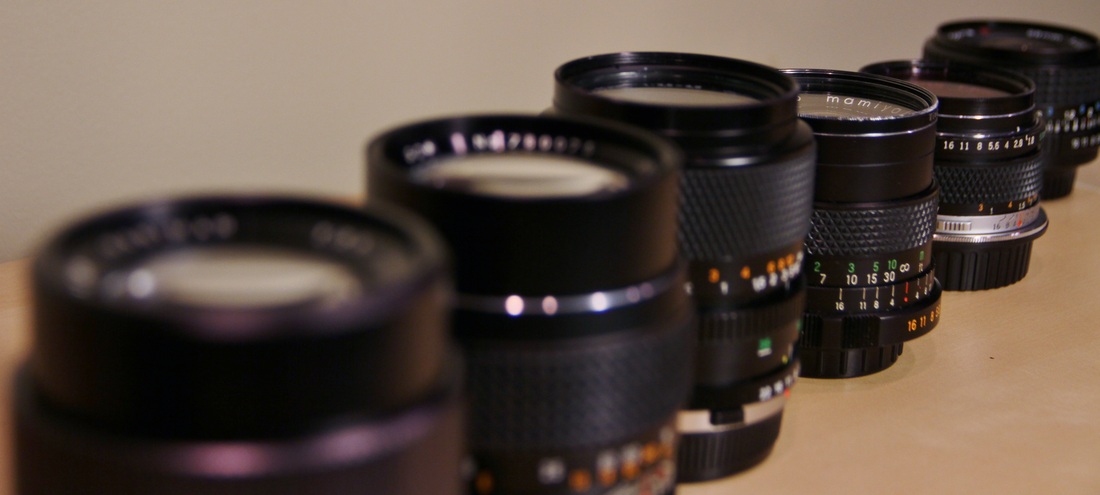
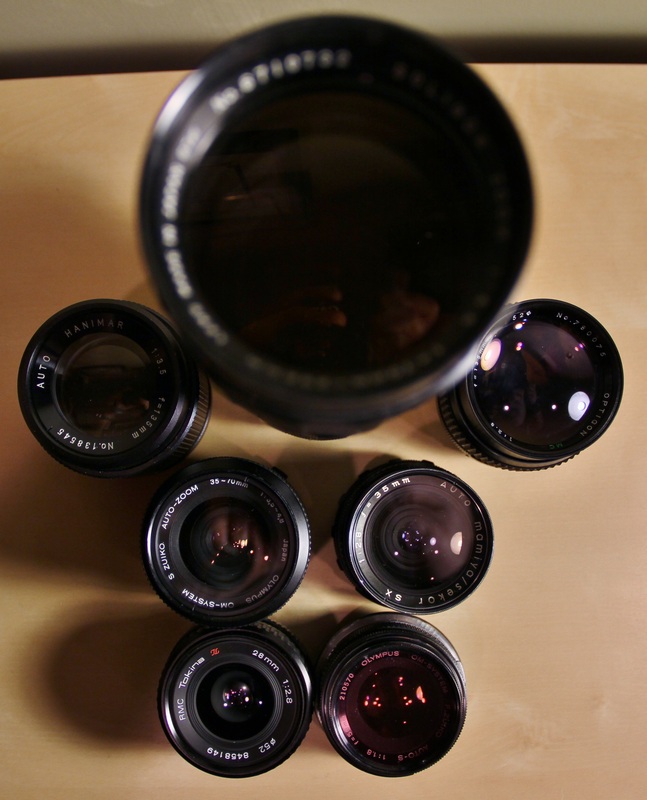
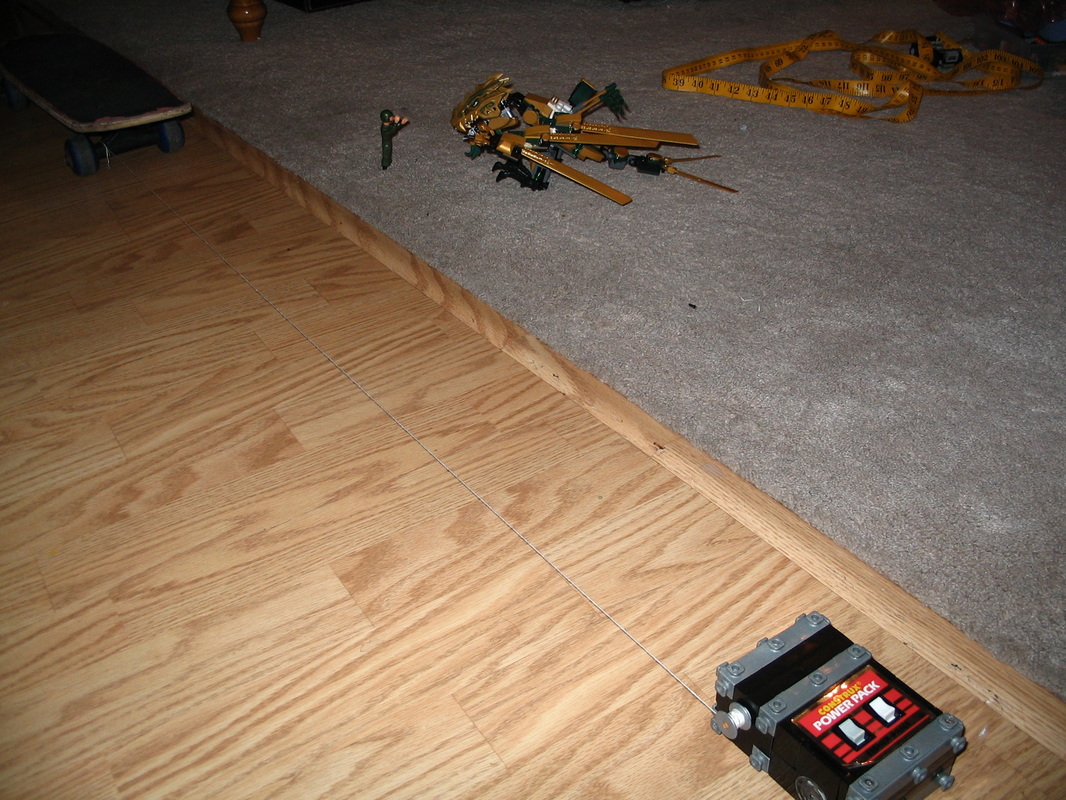
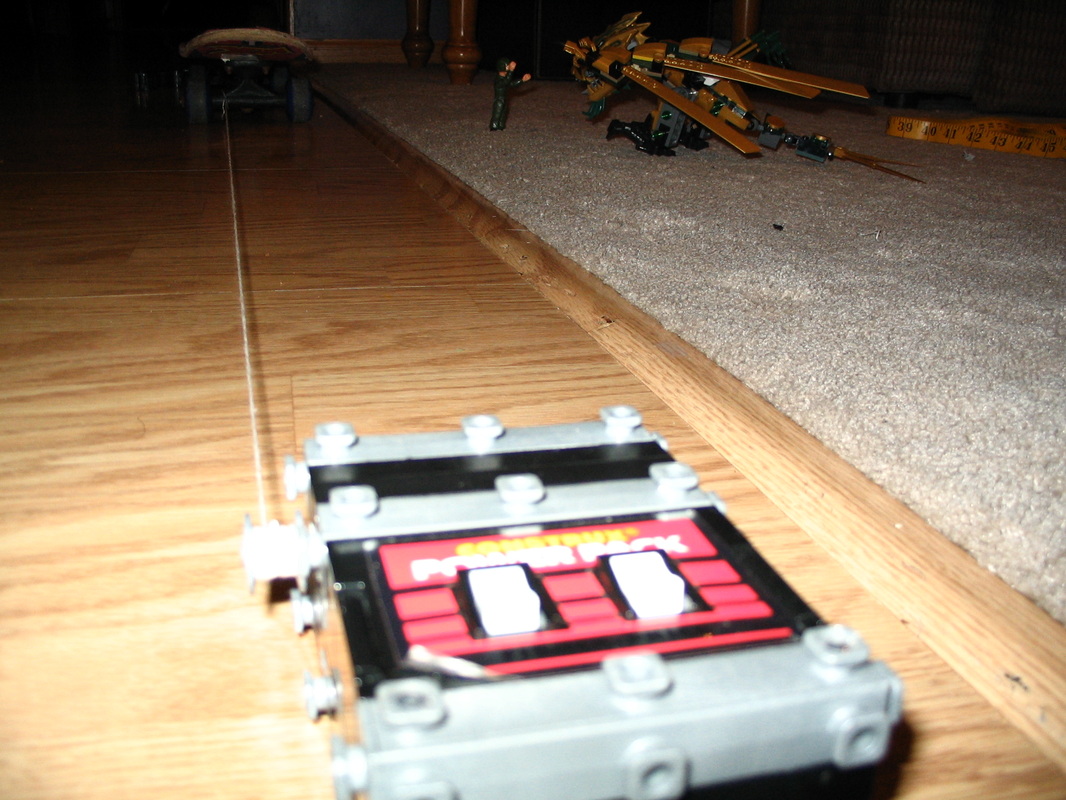
 A couple fortuitous finds have quickly grown my collection of vintage lenses. These neat old lenses usually have really low f-stops so they work great for low light filming. Additionally, since they were manual focus only, the focus rings are very smooth, and have a very slow turning ratio, which allows you to precisely pull focus much more easily than with modern glass. Oh, did I mention they're really cheap compared to new lenses? The best deals on these lenses usually involve getting the old camera too so I did a little photo shoot of my collection thus far. My M42 to EOS adapter finally arrived today so I thought I'd throw together a quick video using the 35mm f/2.8 Mamiya/Sekor lens. With no Image Stabilization, I do believe this will be a tripod use only lens...  As I've been delving deeper into using a DSLR to shoot video, I've come to a realization. Lenses are expensive. Apparently a lot of other people have realized this as well, and have been coming up with alternatives. One such alternative is to use adapters that allow you to mount vintage SLR lenses to your DSLR. The beauty of it is that the old lenses can usually be found for little money, and the "character" they lend to your images can be really appealing. The downside, is they don't have autofocus motors in them so you're on your own to manually focus. Of course, for video, we manually focus anyways, so this is not a problem. There are adapters made for most of the old lenses (by old I mostly mean from the late 1960's to the mid 1980's) to most of the modern cameras, but you'll have to do some digging to find the right one for your combination. There's tons of resources on the subject so I won't belabor the point here, just Google it. 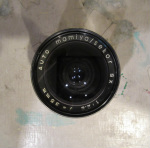 I don't have one of those adapters just yet, but while I'm waiting for delivery, I borrowed my dad's Mamiya MSX1000 from roughly 1975, that had two lenses with it. A 35mm f/2.8, and a 55mm f/1.8. I found I could just hold the lens up to the opening of the camera body and shoot some test images. I'll just include the one shot you see below, which was the 35mm lens at f/2.8 with my Canon 7D set to 1/320 and ISO 4000. As you can see the lip of the cup got a little distorted so I probably didn't have the lens quite tight enough to the body, but needless to say, that will be remedied once the adapters arrive. I like the vintage quality the lens gives to the picture, kind of like an authentic/automatic Instagram......  So after seeing how cool of an effect a slider motion can be, I thought I'd try it with what I had laying around the house. I didn't want to bother with the DSLR for this so I just used my Canon PowerShot A75 (a very old 3.2 megapixel point n' shoot). I happened to remember my Construx toys had a cool variable speed electric motor so I used that with a bit of string and a skateboard to get the effect. Obviously the footage is terrible, but you get the idea.... So for the past couple months I've been learning about shooting video with a Canon 7D DSLR camera. I've never done any serious video shooting before, but I've always enjoyed documenting events with camcorders, so it wasn't a big leap. The web is replete with sites and videos that show you how to get artistic shots and how to use the gear, so I won't repeat all that information here. Instead, I'll show what I've done, and what techniques I've used so far. I had front row seats to this concert, so it provided a prime opportunity to get good footage with minimal interference from audience members. The concert was well lit so I started out with 800 ISO. I was shooting at 30 fps so I used a 1/60th shutter speed. I was using an EFS 18-135mm IS 3.5-5.6 lens so I made use of the zoom quite a bit and rarely got to use the 3.5 f-stop. Ergo, not much of the cool shallow depth of field, but there's a lot of movement, so this probably allowed me to stay in focus better. (the 7D can't really autofocus well in video mode so I have to manually re-focus every time I move the lens.) The audio input was set to Auto at first so it was very hot and distorted. So, I overlayed the album audio with the live audio. Thankfully they must play to a click track so it all lined up. This was shot with pretty much the same settings, except I remembered the audio, and manually set it down to 1 click above "off". I think it came out pretty good considering it's just the on-camera mono mic. Some of the highlights were getting washed out, so I moved the ISO down to 400 for this segment. Once the headline act came on, the lighting was even brighter so I moved the ISO all the way down to 100. Finally, for the last segment, I remembered that video looks cooler at 24 fps so I changed it, as well as changing the shutter speed to 1/50th.
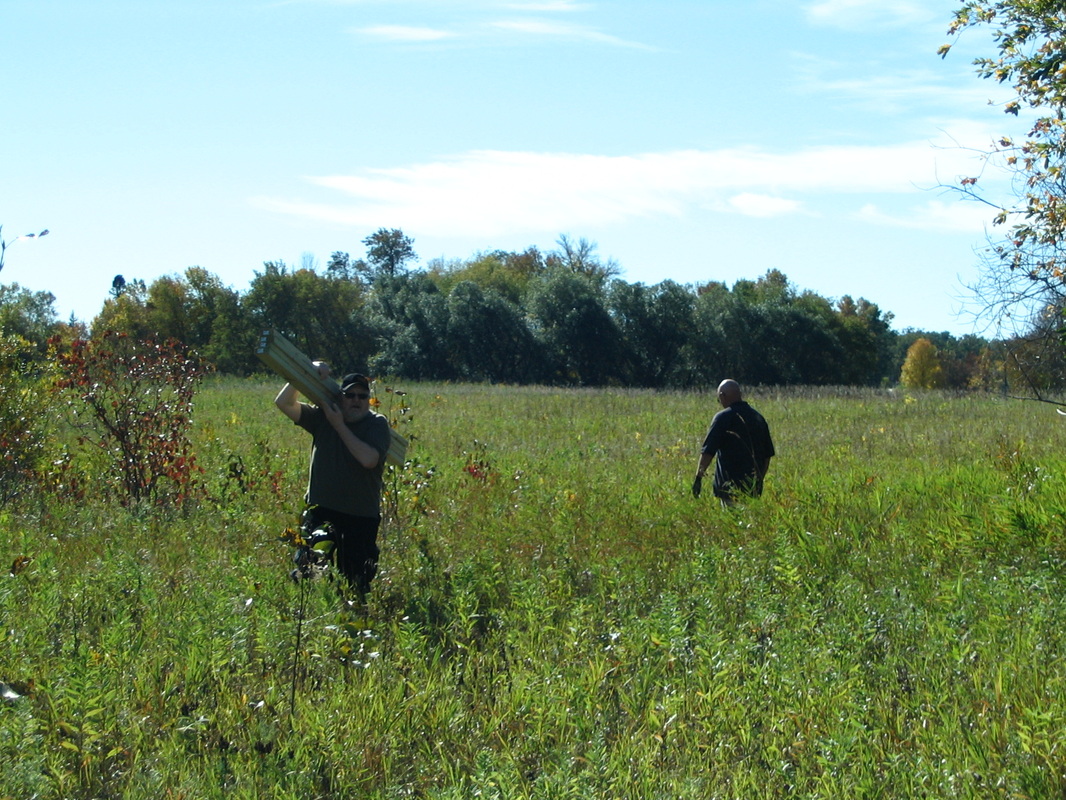
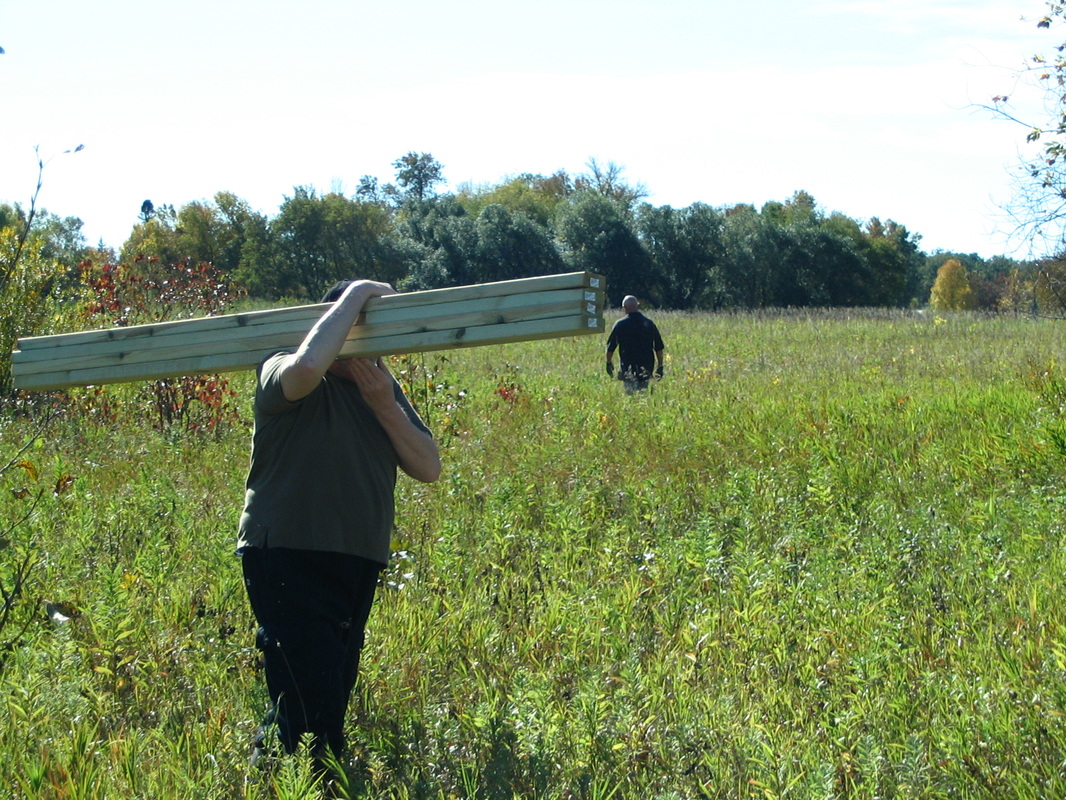
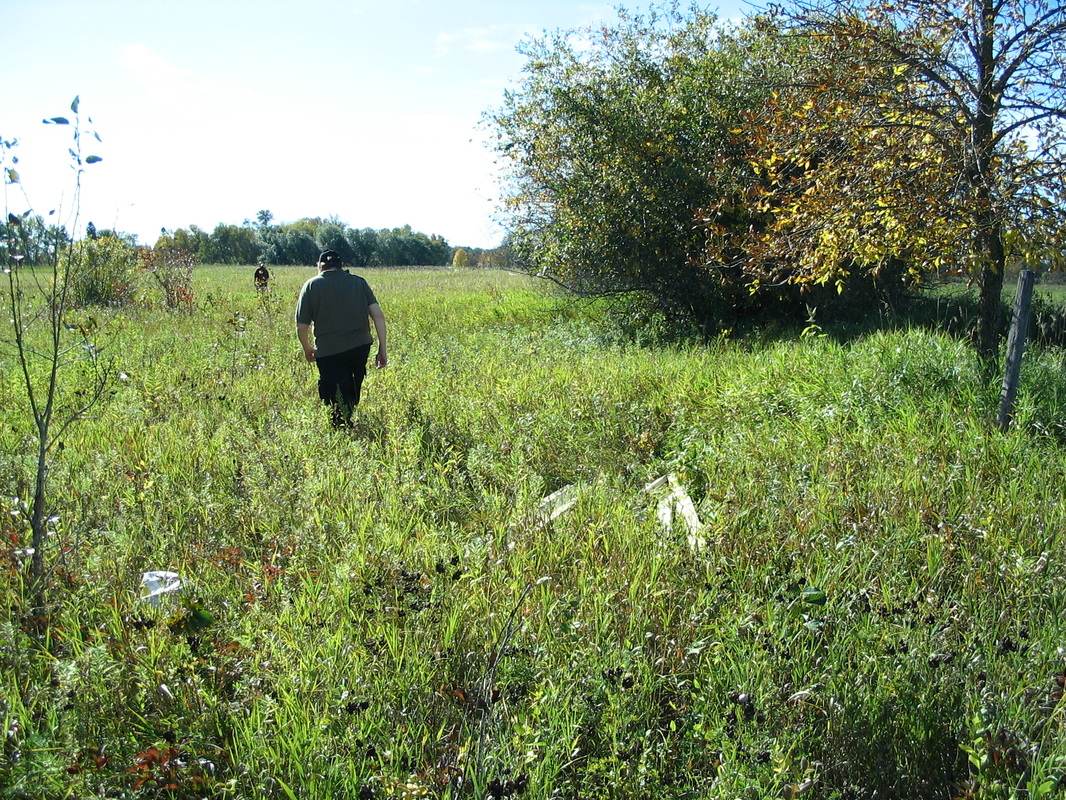
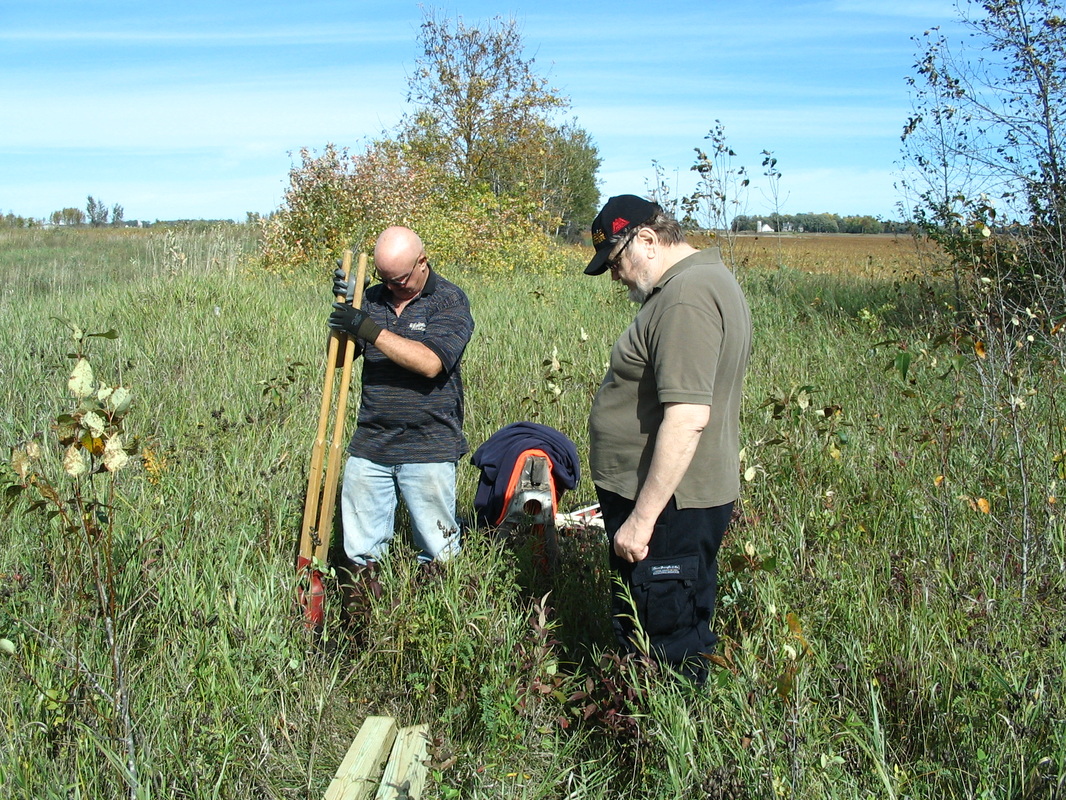
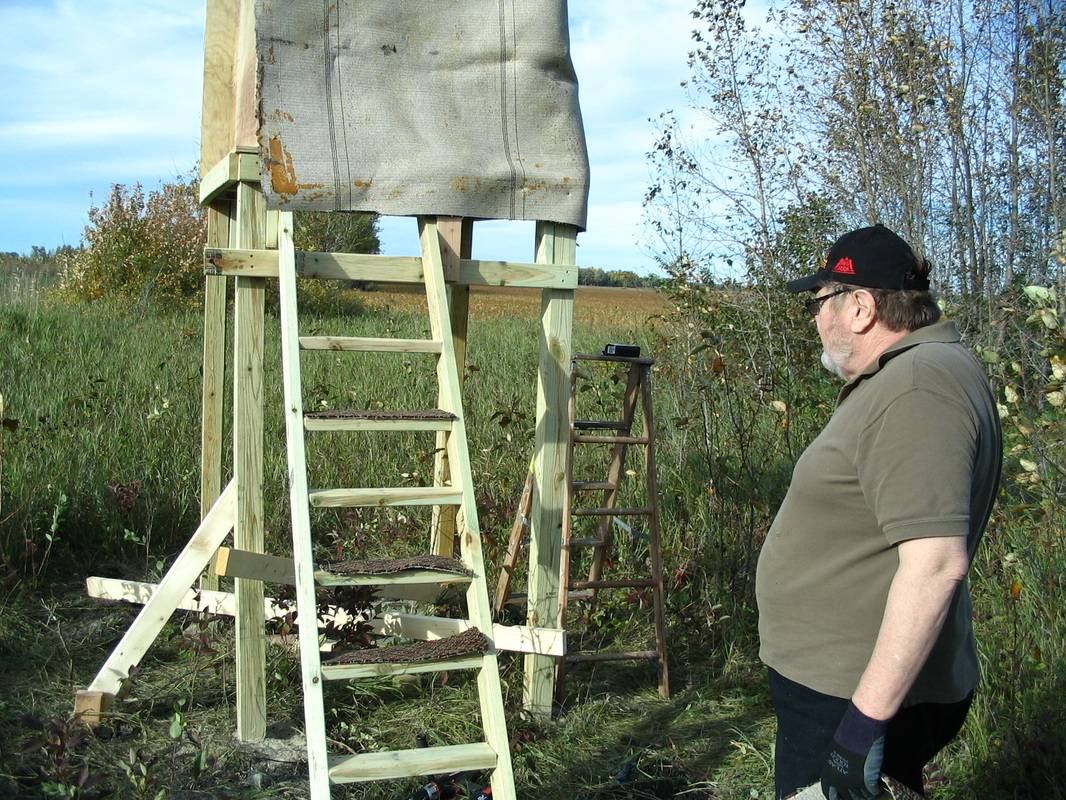
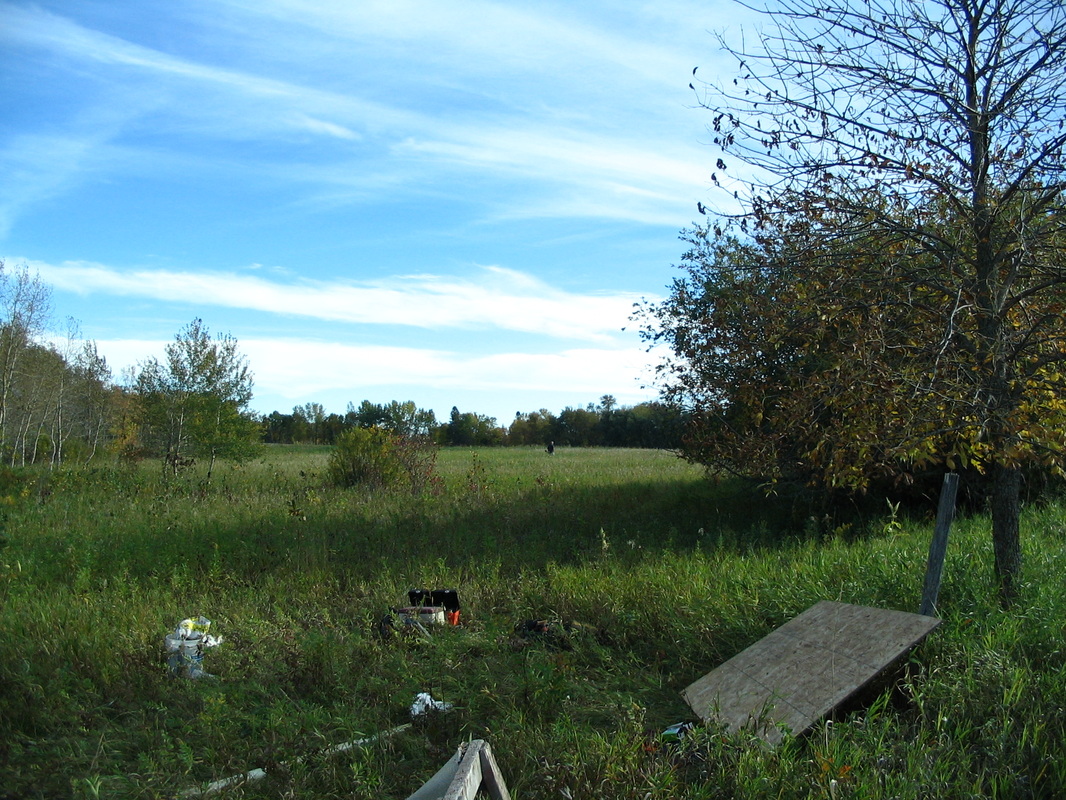
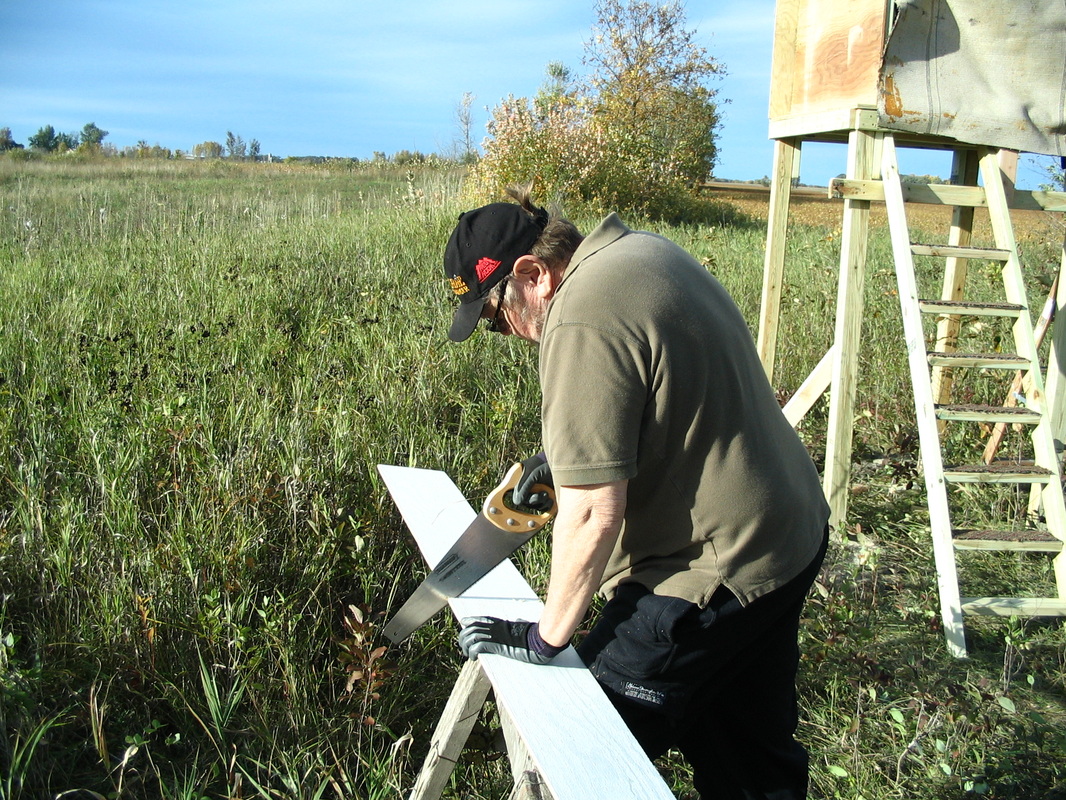
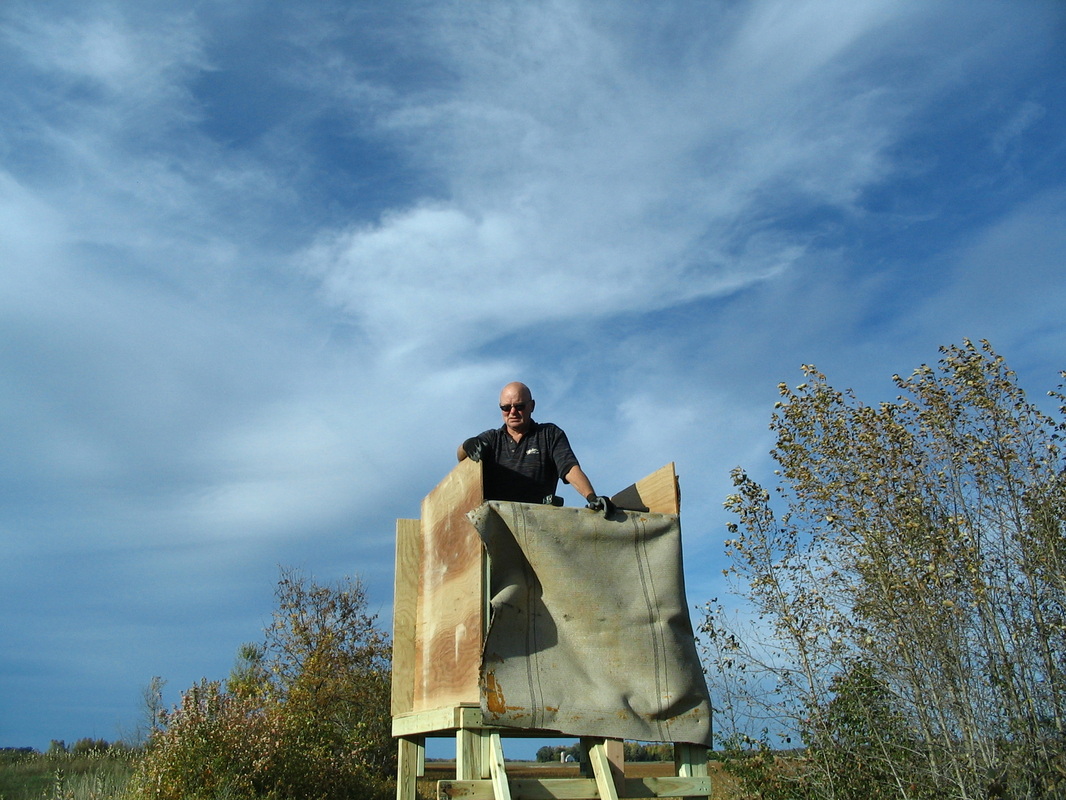
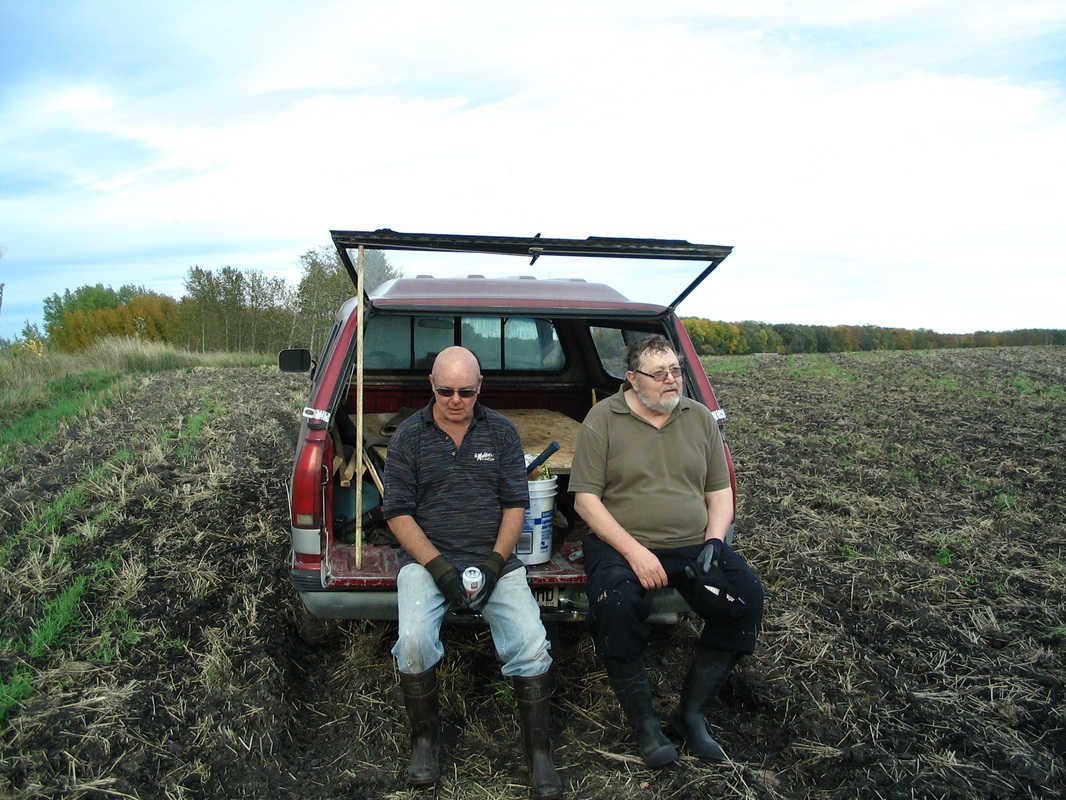
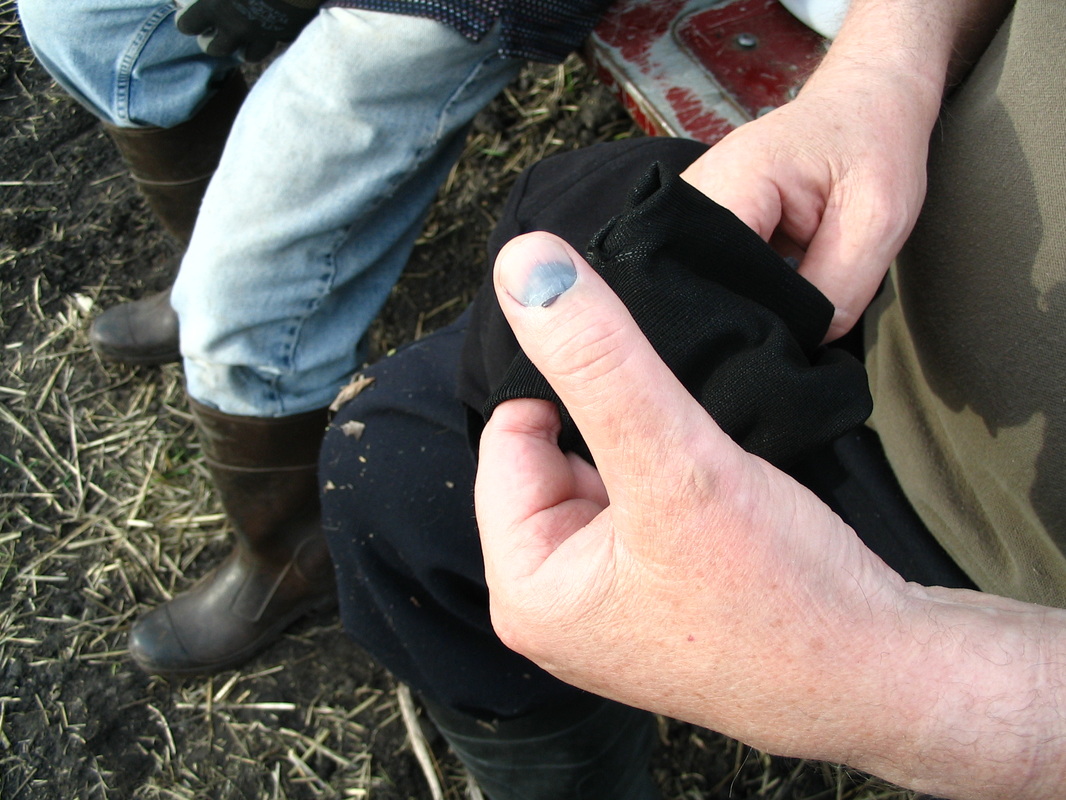
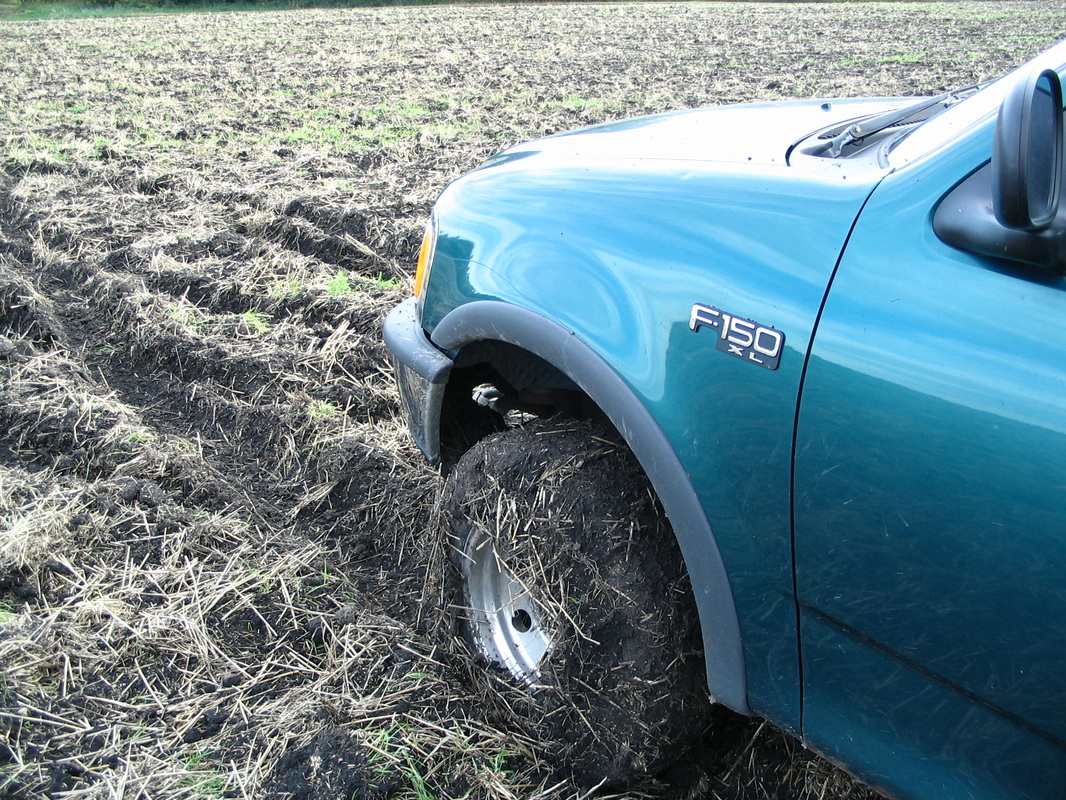
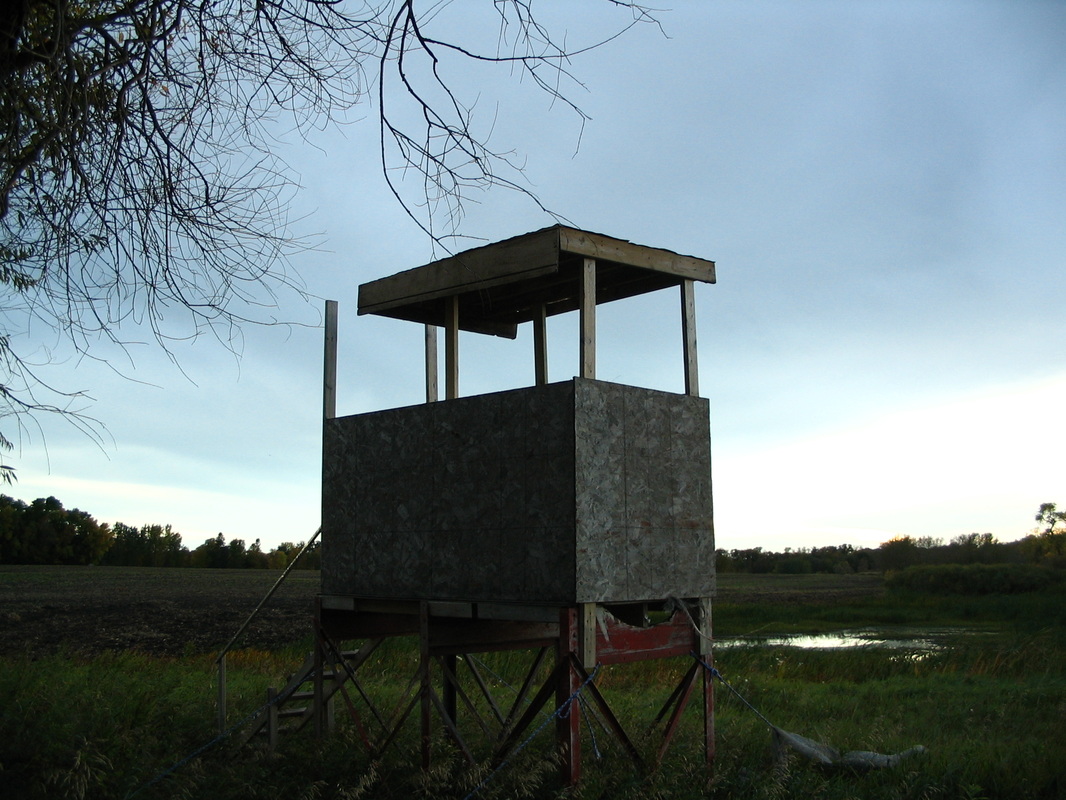
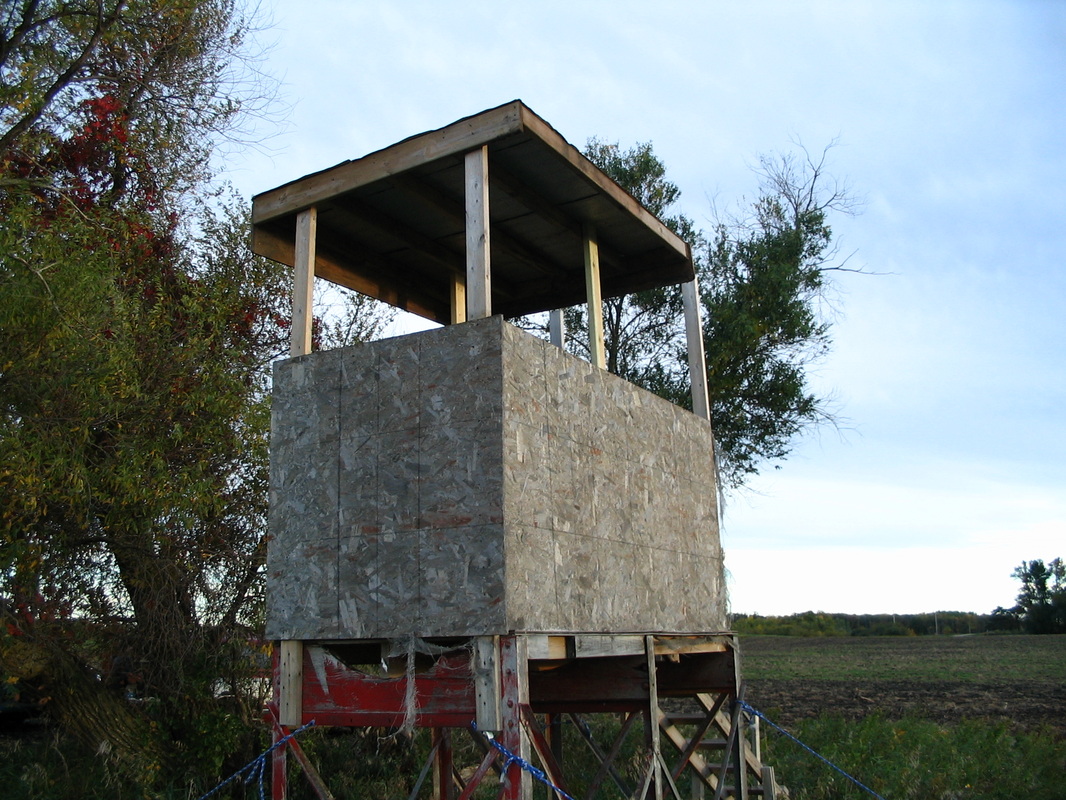
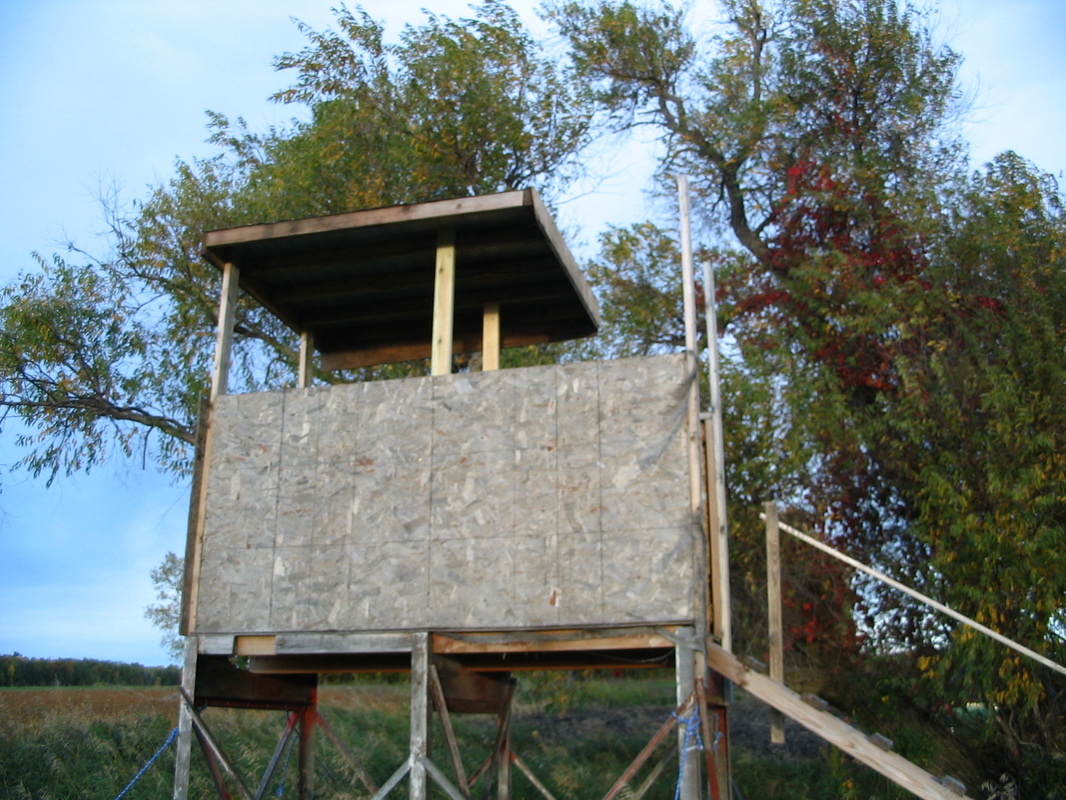
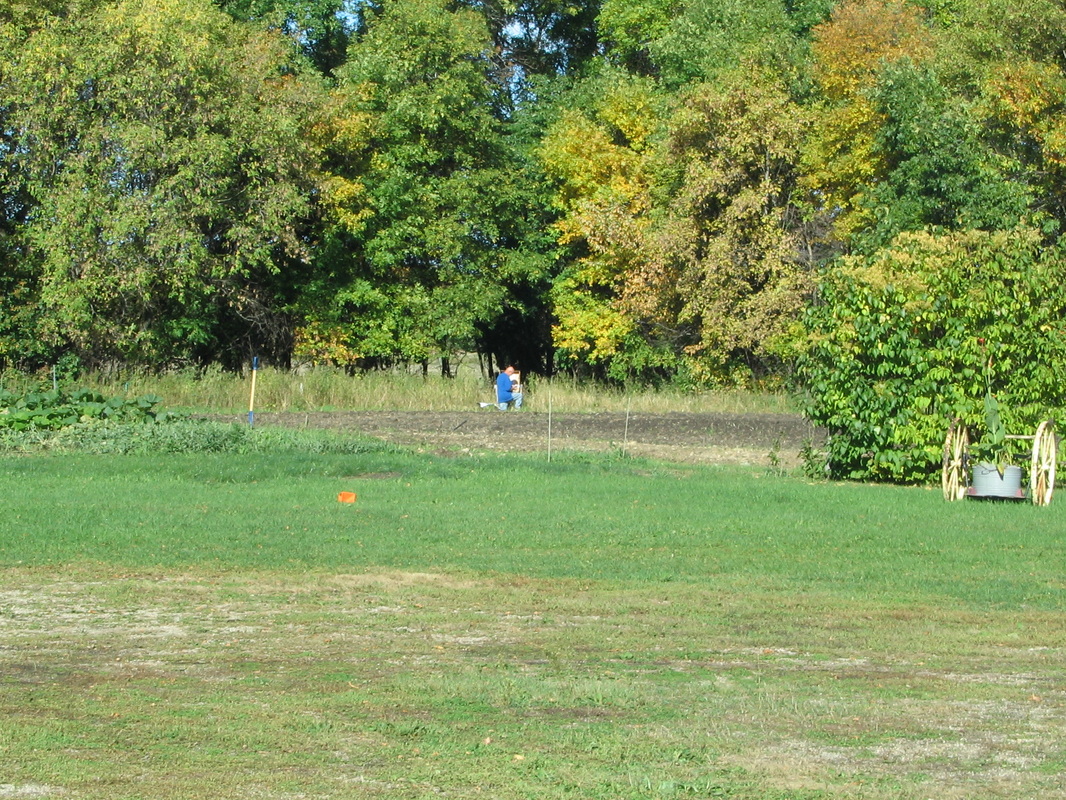
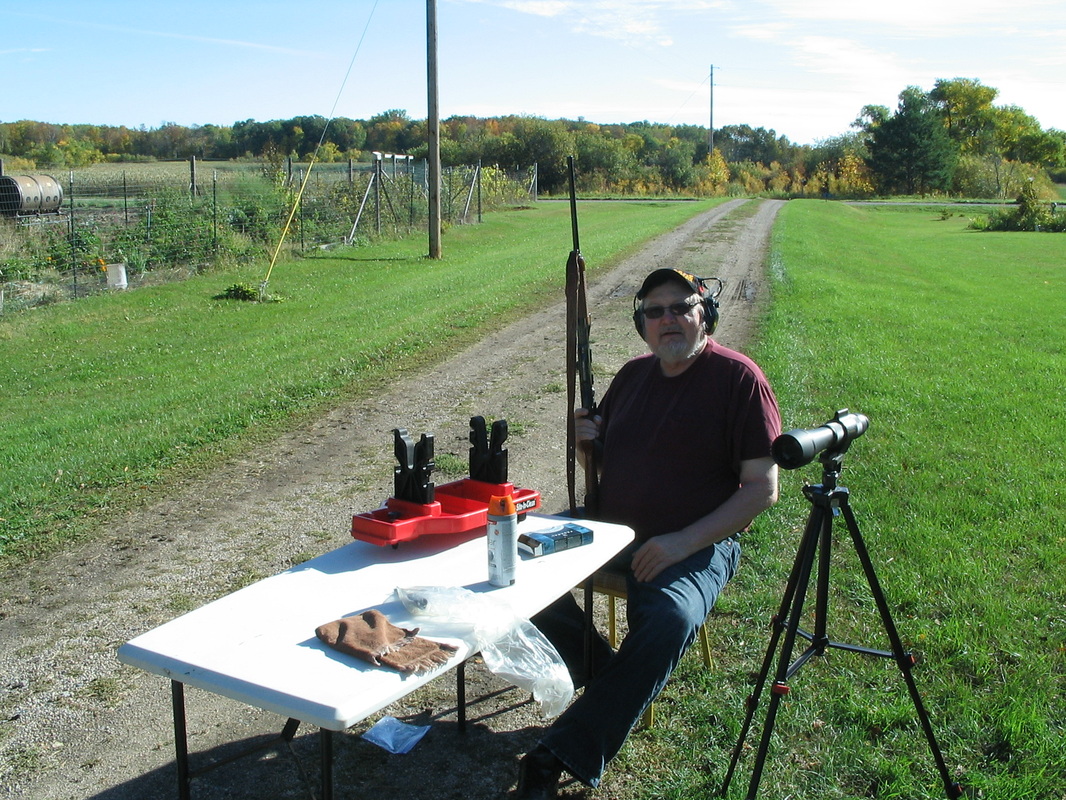
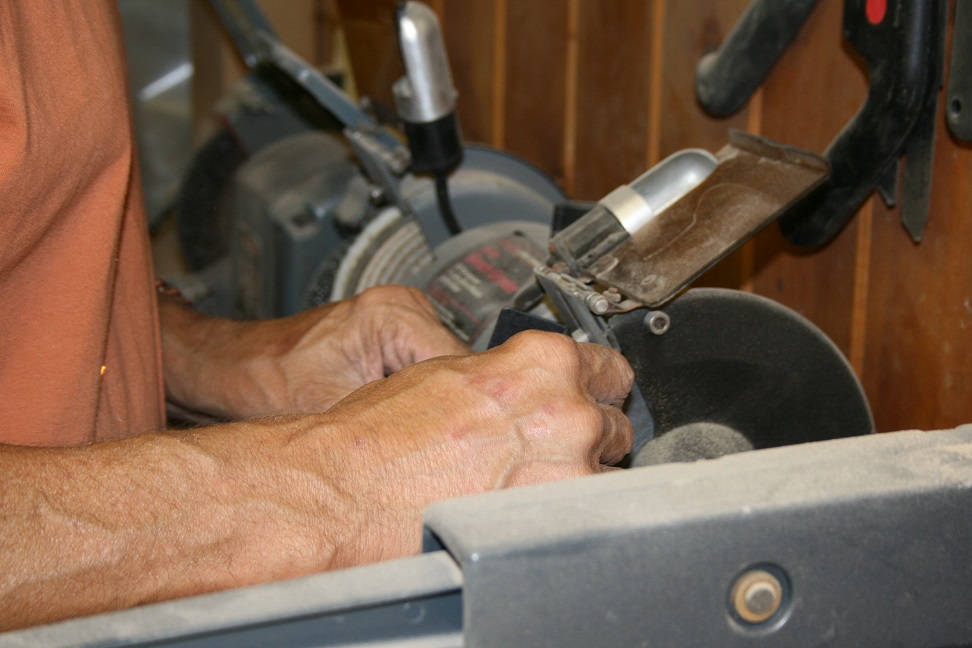
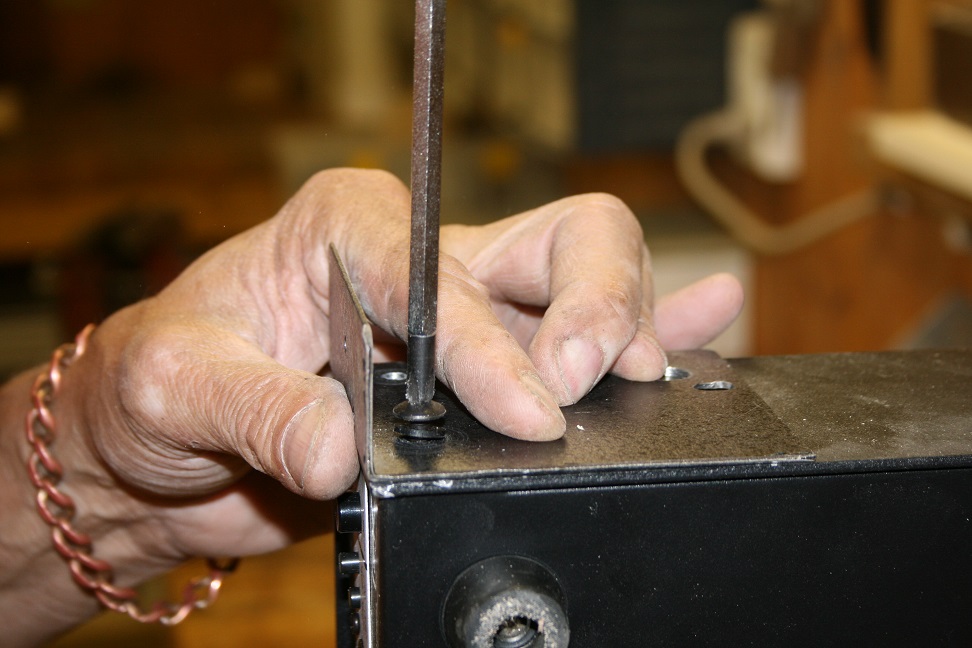
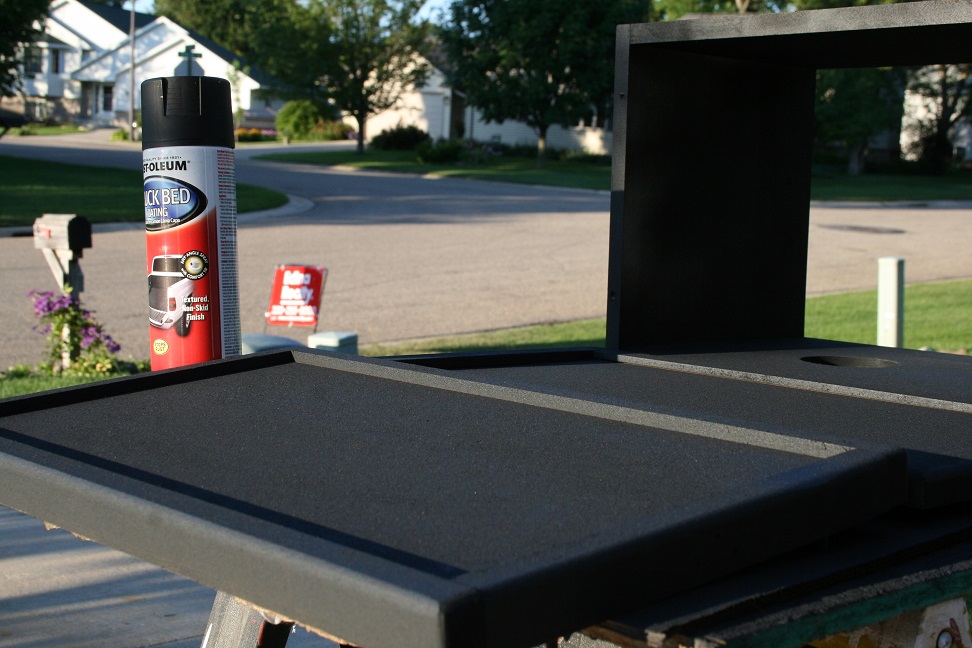
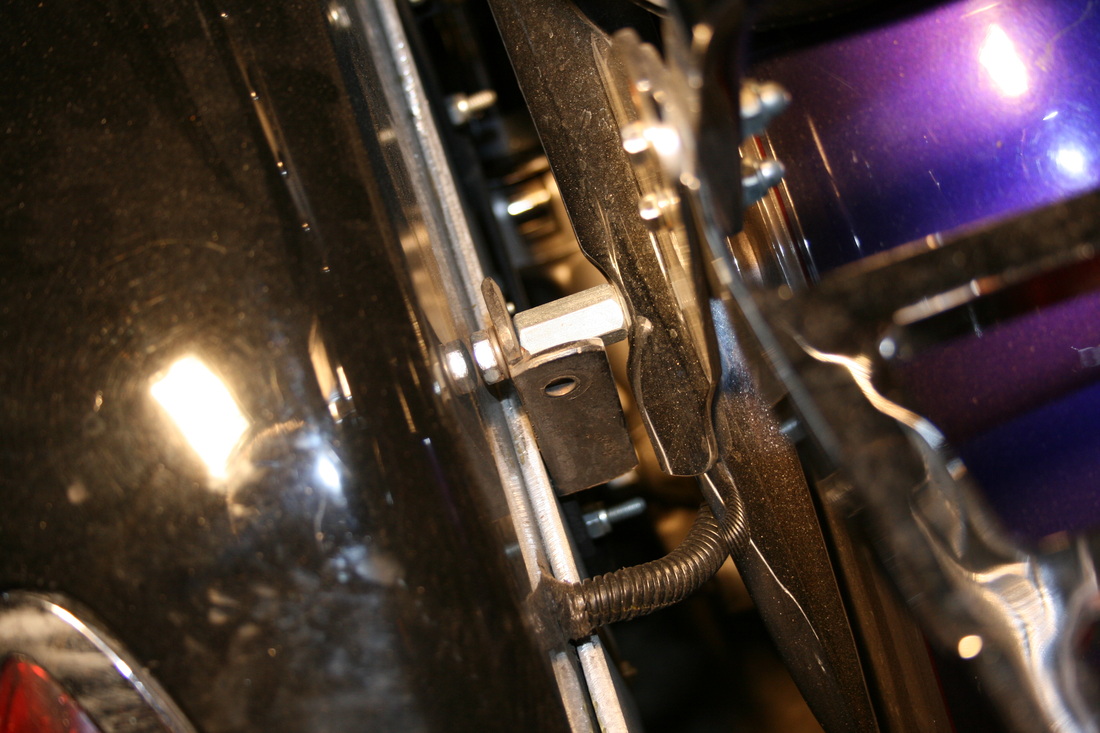
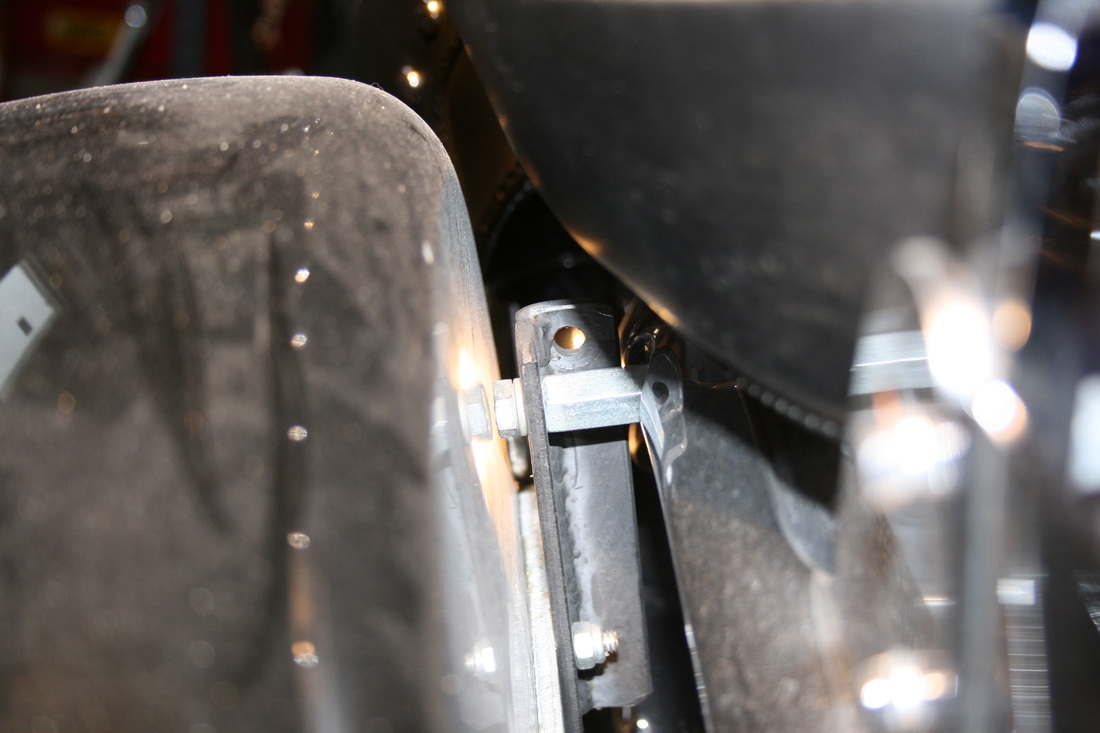
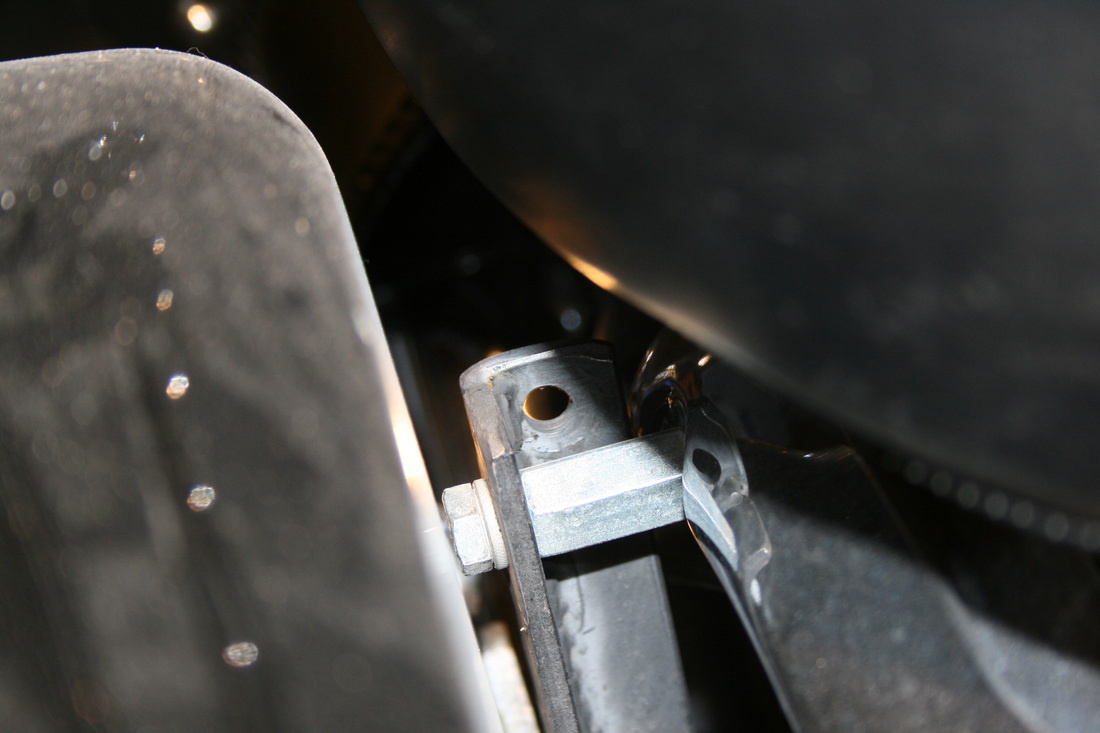
This year, one of our party decided to build a new stand. It involved driving across a muddy field, and carrying lots of heavy things where the trucks couldn't go, but we got it done. It may not be pretty, but it'll do the job. Hopefully his thumb will be healed up by Deer Season. I also got to add a roof to one of my stands. It was pre-built for a different application, but we managed to re-configure it for this one. We also managed to squeeze in some target practice and sighting in time. All in all one of our more productive prep weekends, and we had great weather for it! 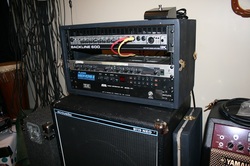 I wanted to rackmount my GK Backline 600 bass amp, but didn't want to shell out the $60 or so for the factory rack ears. Thankfully my friend Mitch had the sheet metal handy to make our own. Then we decided to rebuild a homemade 6 space rack I had sitting around. Finally I coated it with truck bedliner and called it good. One bugaboo with this amp, is that it vents out the top, so we had to cut a 3" hole in the top of the case and naturally the amp has to go in the top 2 spaces... 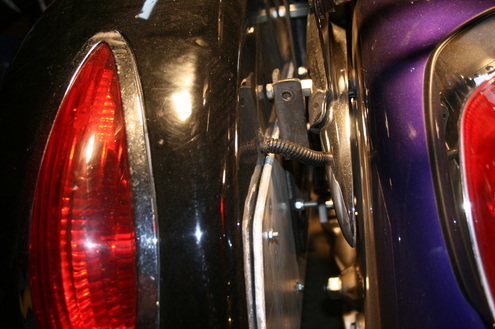 The Mutazu ABS Plastic saddle bags are large and cool looking, but they have a really weak mounting system. A friend helped me out by gluing sheet aluminum to the back for strength, then welding up some "L" shaped mounting brackets to bolt the bags to. I tried to show how it all works with the attached pictures.  Perhaps you've seen the leather engine guards from various vendors, and while those look and work great, they're a bit pricey. So, as an experiment we tried making our own out of plexiglass. The mounts are made out of plastic conduit clamps that dad just ground one ear off of. We made a template from cardboard first and cut the basic shape out with the sabre saw, then used the sander and files to smooth out the rest. The pictures below are fairly self-explanatory. Problem: the cooling fan on my aging PNY GeForce 9600GT video card was going out. It was making ugly grinding noises and needed to go. Apparently, this is nearly impossible to replace. Nobody sells the original fan and aftermarket coolers that fit the mounting holes on the board and hard to come by as well. So, I decided to improvise a solution. First, a picture of the original cooler. Note how it's a squirrel cage blower that pushes the air across the cooling fins. The black plastic "tunnel" keeps the air from moving away from the fins. 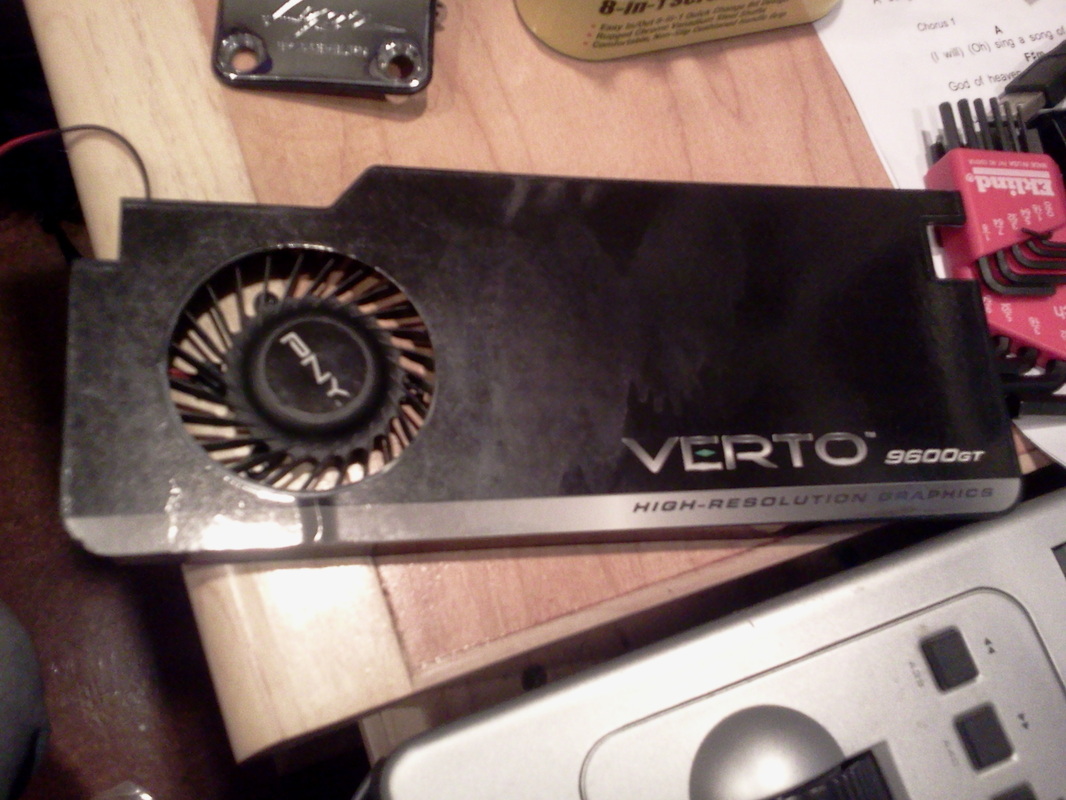 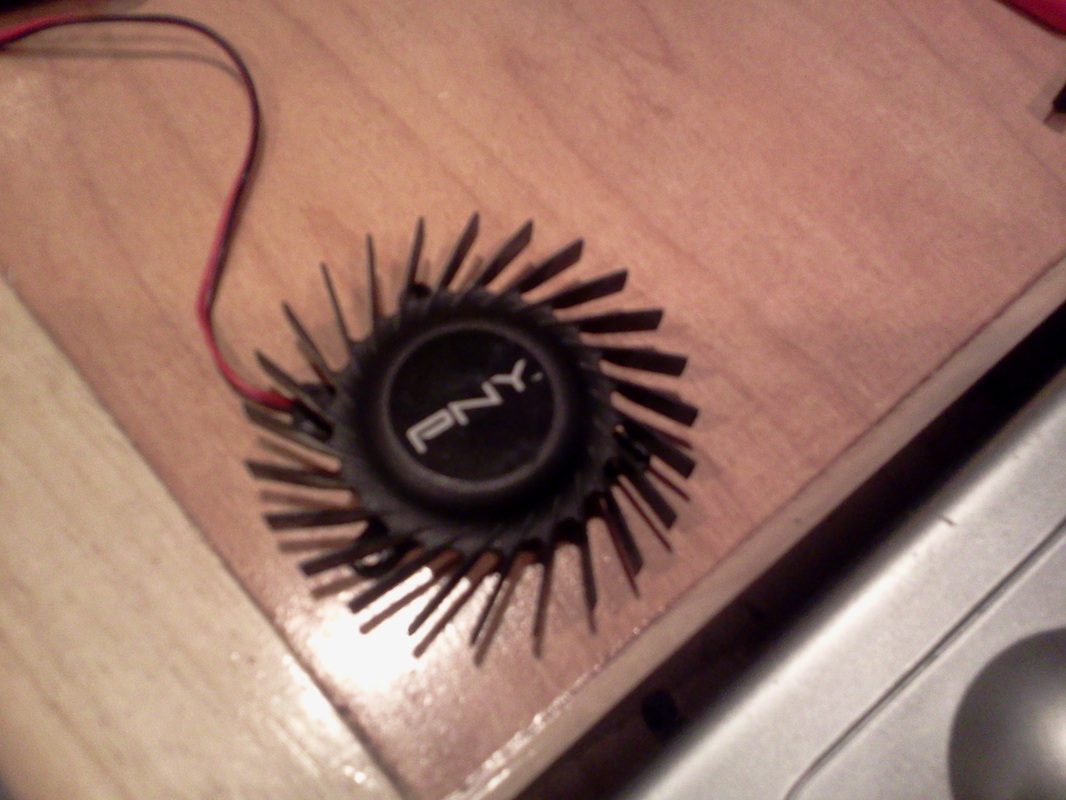 I had a spare case fan laying around that was about the right size. I used a side cutter to nip the upper corners so I could access the lower screw holes. 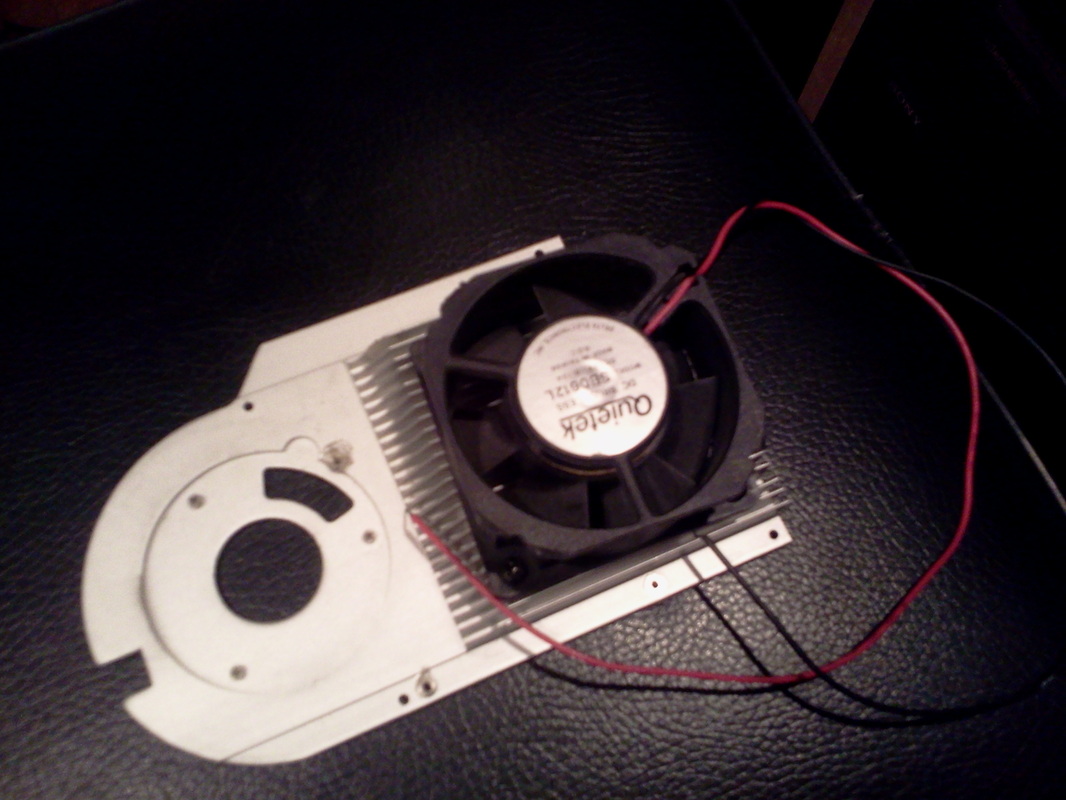 I simply chose sheet metal screws that were just big enough to fit between the cooling fins and still have enough bite to hold. 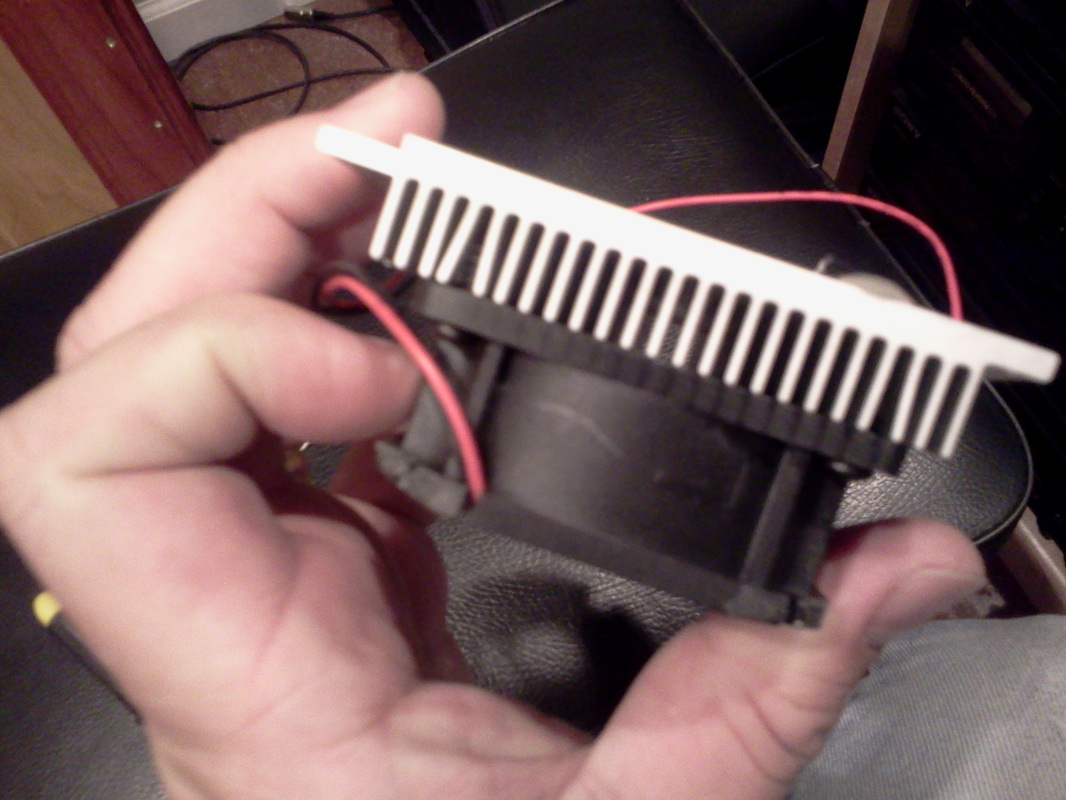 I simply soldered the old end for the fan power connector and shrink wrapped the joints. 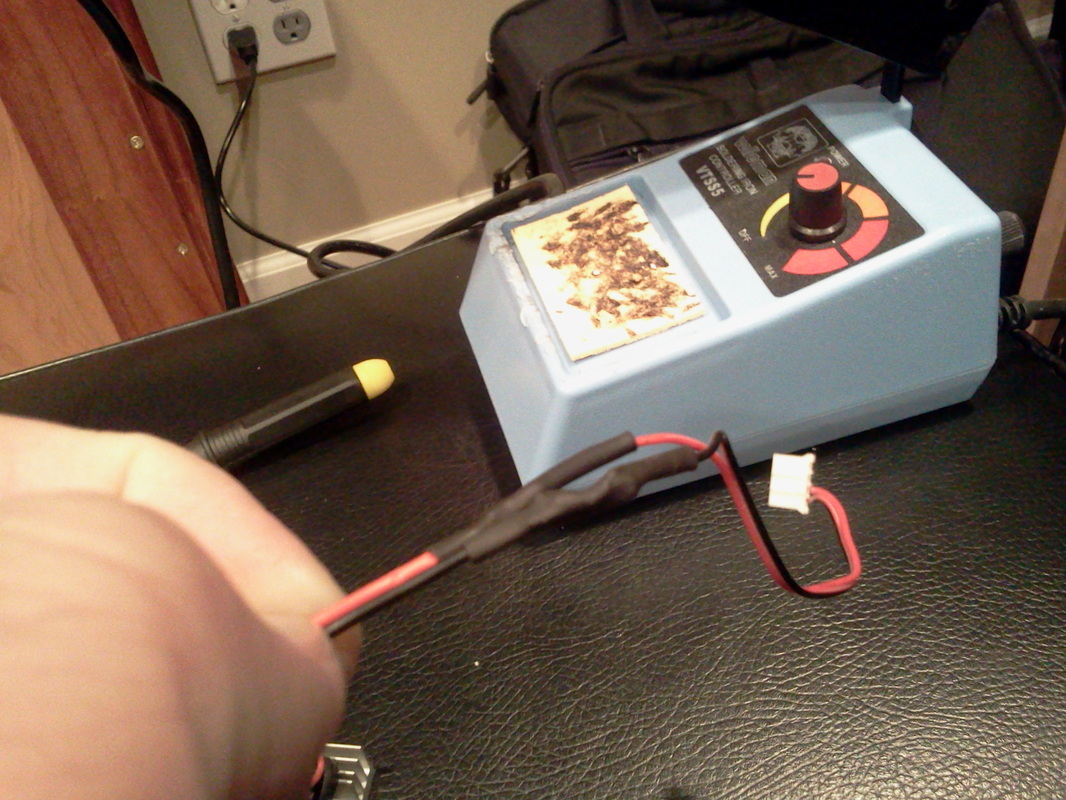 Apply a little thermal paste to the GPU. 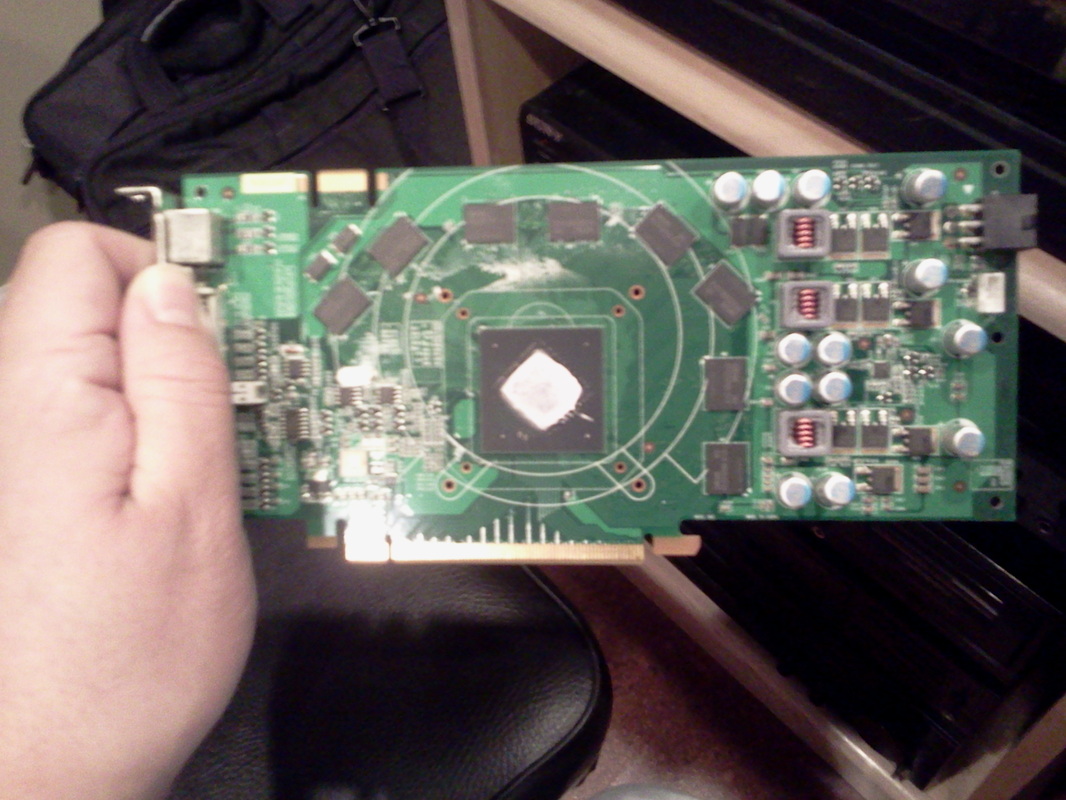 Then mounted the cooler back to the board and connected the fan. 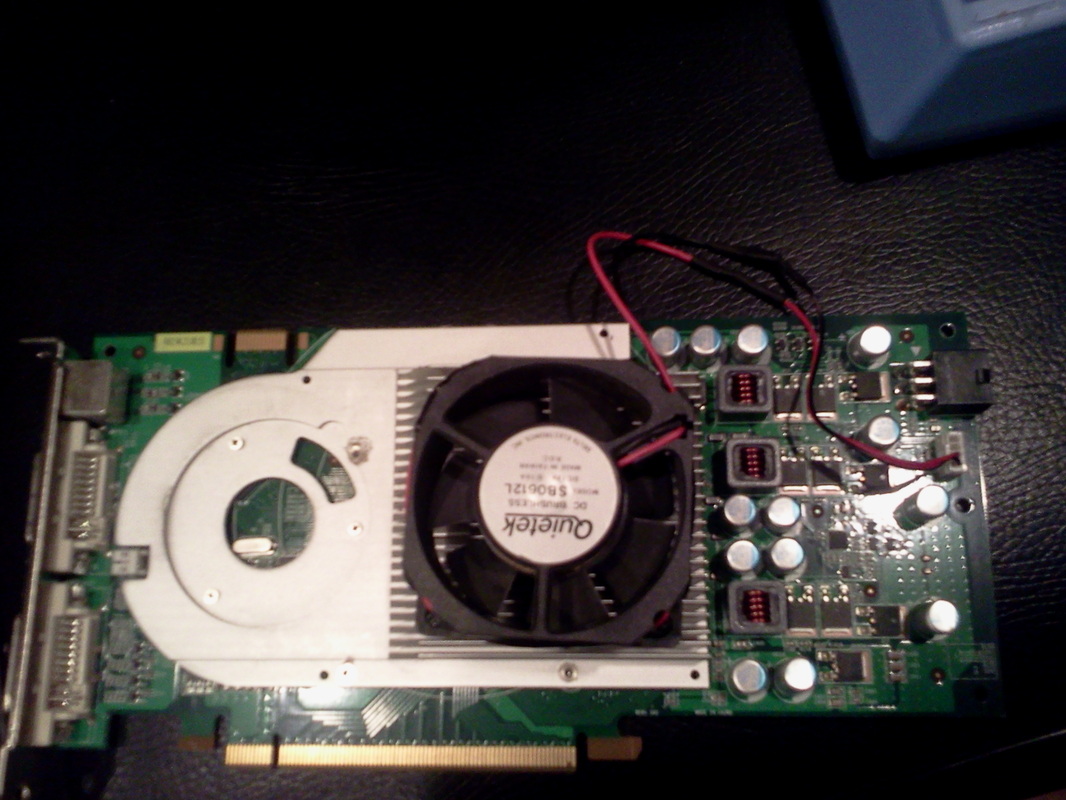 I re-installed the card and it all works good. PC Wizard says it's running at 50c when idle, and 63c when playing a game. The only downside is that the fan is too big for any other cards to be installed in the computer. Thankfully I don't plan on adding any modems or anything.
|
Authorthe ramblings, musings, and tinkerings of Minsan Sauers. 
Archives
April 2017
Categories |


 RSS Feed
