|
So, as I've been learning photography the past 6 months or so, I came across a technique people are calling the "Brenizer Method". Credit is given to a NYC photographer named Ryan Brenizer for coming up with the technique, although it relies on the PhotoMerge or Photo Stitching functions in Photoshop or Microsoft Image Composite Editor (ICE) to make it work, so obviously somebody at Adobe or Microsoft envisioned this prior to Ryan. Anyhow, I digress. The neat thing about it is that you get a wide angle of view with a shallow depth of field. Which, doesn't mean much to non-photographers, but I'll give you an example that should clear things up. Depth of field (DOF) is the ability to control how much of the background is blurry compared to the point of focus in your picture. Due to the nature of light and lenses, in order to get a nice smooth, blurry background you have to position your camera close to the subject if you have a standard or wide angle lens, or if you have a telephoto lens you can stand further back and zoom in on your subject. So here's the problem, what if you want to capture a relatively wide angle of view, but you still want a nice blurry background? In olden days the only way to pull this off was with a larger format film or digital sensor that allowed a wider angle of view. By the way, these "medium" and "large" format cameras are very expensive. On to the examples. Here is a picture of our dining room, taken while I sat in our living room. I had to set my zoom lens to 40mm to get the entire table in the frame. 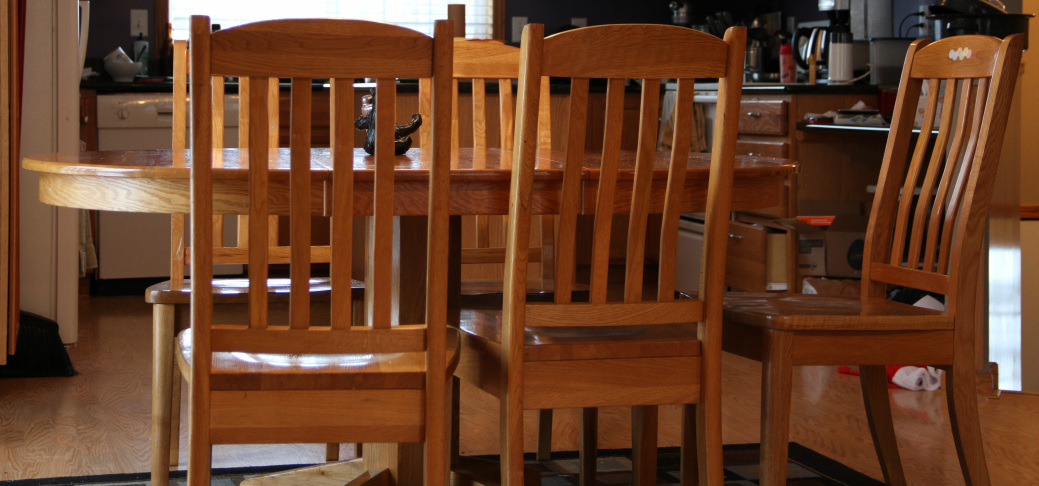
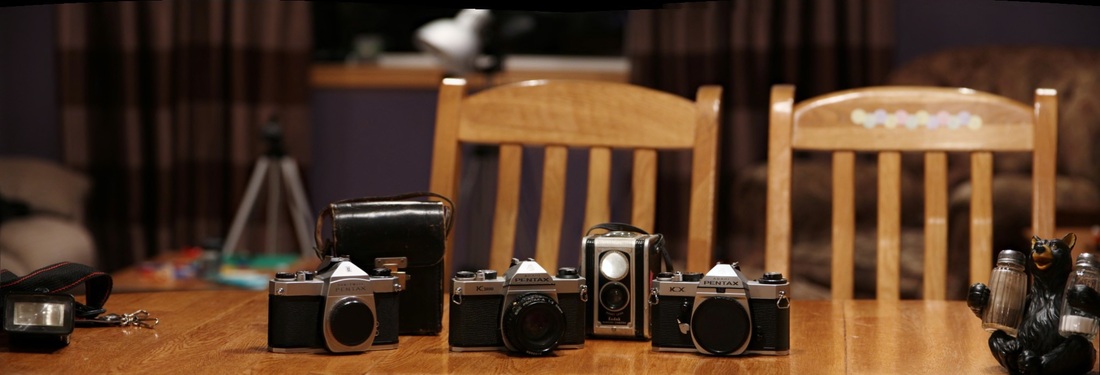
Notice how the entire kitchen is fairly in-focus yet, and the picture overall lacks any sort of "pop" or "depth". (The lowest f-stop my lens would allow at this range was f/5.0 for the photogs out there) Ok, so now here's the Brenizer Method photo, stitched together from 160 pictures with a 235mm lens at f/5.6, while sitting in the same chair as before: 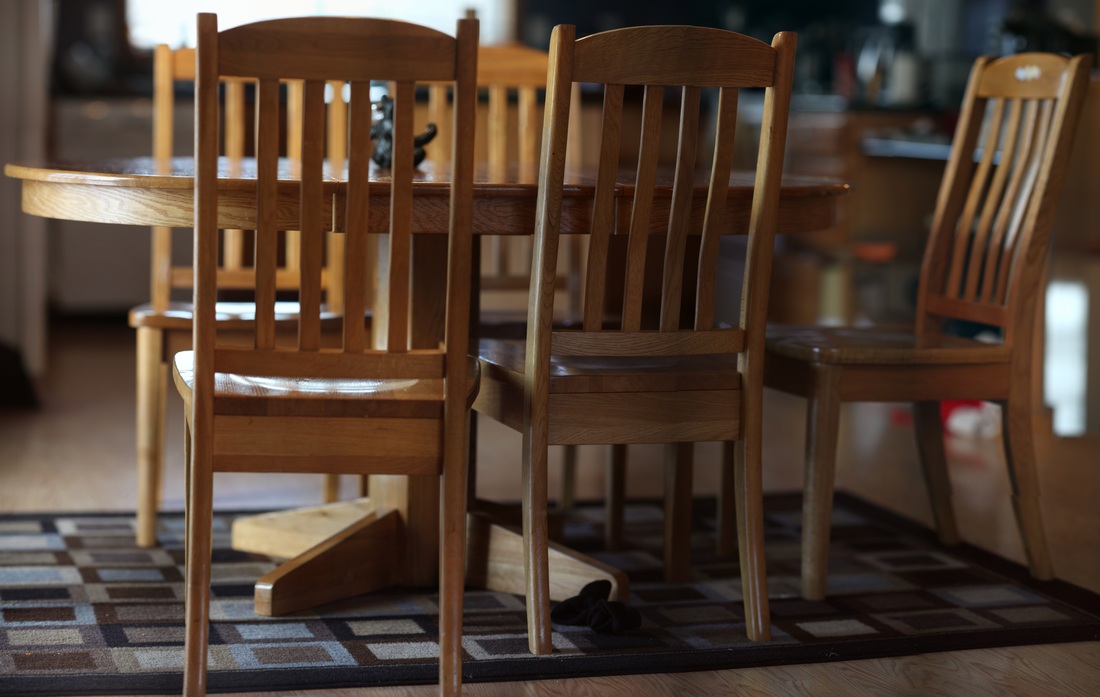
Now, my 70-235mm lens is a 40 year old Soligor M42 manual focus lens, so the coloring is a little different, but as you can see, the background is way blurrier than in the first picture, and the part that is in focus seems to jump out at you. I did zero post processing on either picture so the exposure and coloring could be adjusted to make them even better but for this example I wanted to show how the pictures compare coming straight out of the camera. More or less... after I used ICE to stitch those 160 pictures together. If you want to know how to do the Method, just search for Brenizer Method on Youtube and you'll find tons of examples of how to do it. It's actually far easier than you might think, and for most pictures you can get away with only shooting 20-30 pictures. I wanted an extreme example so I used my 235mm lens which forced me to take way more pictures, but I've gotten reasonably good pictures at 135mm and far fewer clicks. The images below were all made with my Canon EF-S 18-135mm f/3.5-5.6 lens.
0 Comments
My M42 to EOS adapter finally arrived today so I thought I'd throw together a quick video using the 35mm f/2.8 Mamiya/Sekor lens. With no Image Stabilization, I do believe this will be a tripod use only lens...  As I've been delving deeper into using a DSLR to shoot video, I've come to a realization. Lenses are expensive. Apparently a lot of other people have realized this as well, and have been coming up with alternatives. One such alternative is to use adapters that allow you to mount vintage SLR lenses to your DSLR. The beauty of it is that the old lenses can usually be found for little money, and the "character" they lend to your images can be really appealing. The downside, is they don't have autofocus motors in them so you're on your own to manually focus. Of course, for video, we manually focus anyways, so this is not a problem. There are adapters made for most of the old lenses (by old I mostly mean from the late 1960's to the mid 1980's) to most of the modern cameras, but you'll have to do some digging to find the right one for your combination. There's tons of resources on the subject so I won't belabor the point here, just Google it. 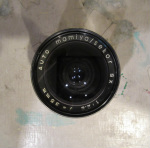 I don't have one of those adapters just yet, but while I'm waiting for delivery, I borrowed my dad's Mamiya MSX1000 from roughly 1975, that had two lenses with it. A 35mm f/2.8, and a 55mm f/1.8. I found I could just hold the lens up to the opening of the camera body and shoot some test images. I'll just include the one shot you see below, which was the 35mm lens at f/2.8 with my Canon 7D set to 1/320 and ISO 4000. As you can see the lip of the cup got a little distorted so I probably didn't have the lens quite tight enough to the body, but needless to say, that will be remedied once the adapters arrive. I like the vintage quality the lens gives to the picture, kind of like an authentic/automatic Instagram...... 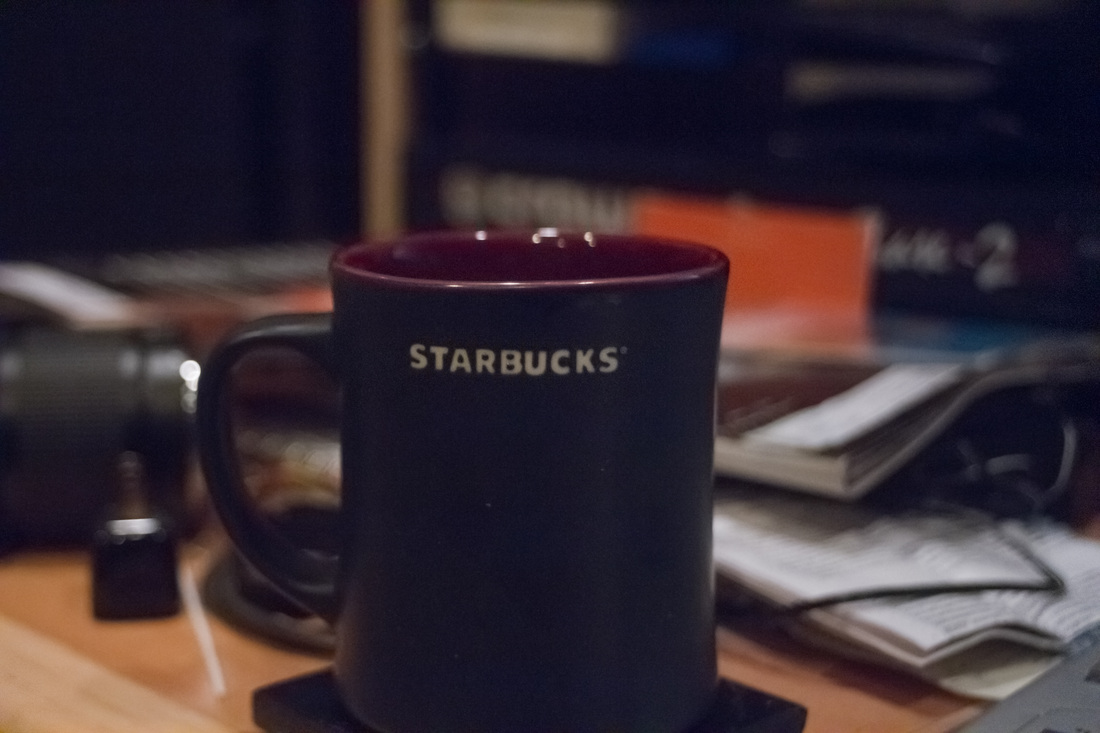 |
Authorthe ramblings, musings, and tinkerings of Minsan Sauers. 
Archives
April 2017
Categories |


 RSS Feed
